A few of you had asked for a tutorial for the silverware pendants, so today I thought I would show you how I make them. Now, by no means am I am a professional jewelry maker! SO, if you have a better way of doing something PLEASE leave me a comment letting us know.
Here are two different silverware jewelry tutorials.
1. Quote Pendant
Supplies you will need: stamping set, hammer, scrap of wood, drill w/metal bit, sharpie, steel wool, side-cutters, rubber mallet.
You can find the stamp set at most hardware stores. I got mine at Harbor Freight for about $10.
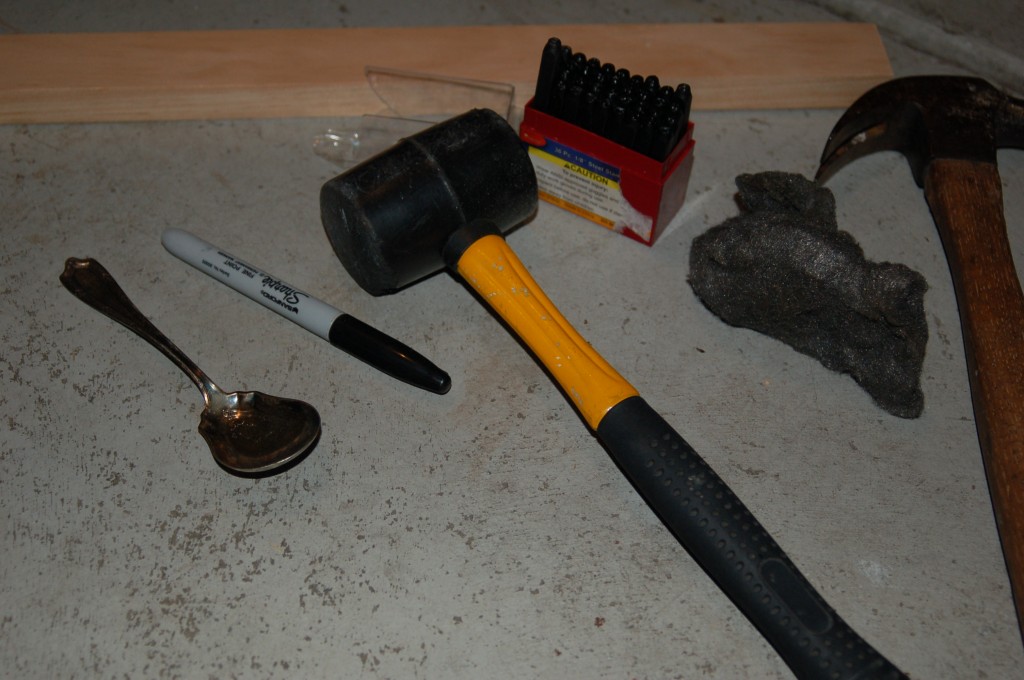
And of course, you will also need a beautiful piece of antique silverware.
The piece I’m using is a serving spoon. I love the detail on the scoop part!
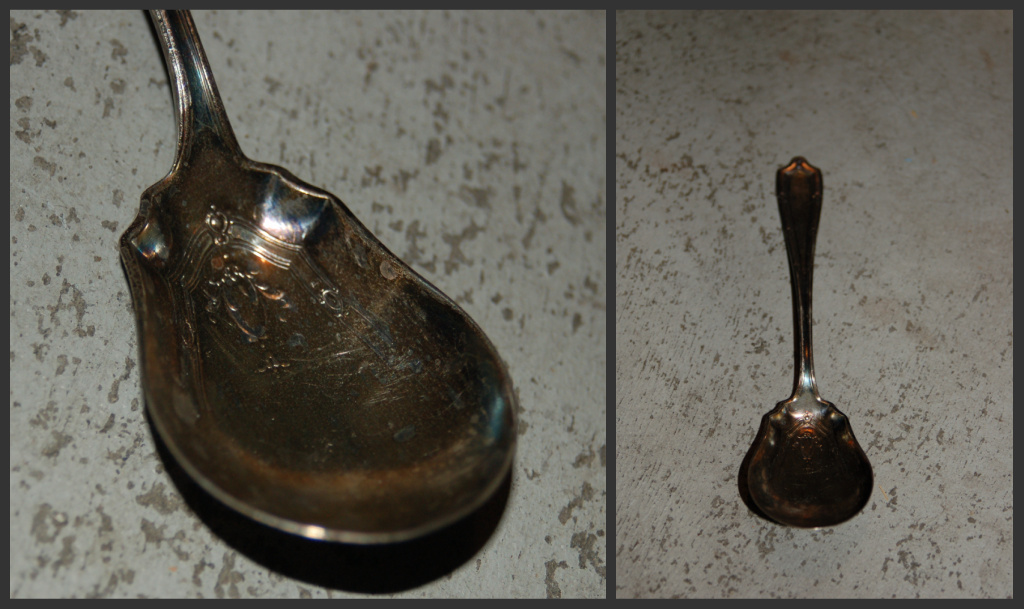 First you need to set the “scoop” flat. I start by using the rubber mallet and hammering the front. Then I normally turn it over and use the hammer to finish flattening it.
Once you have it somewhat flat, use a sharpie to mark out where you want the letters.
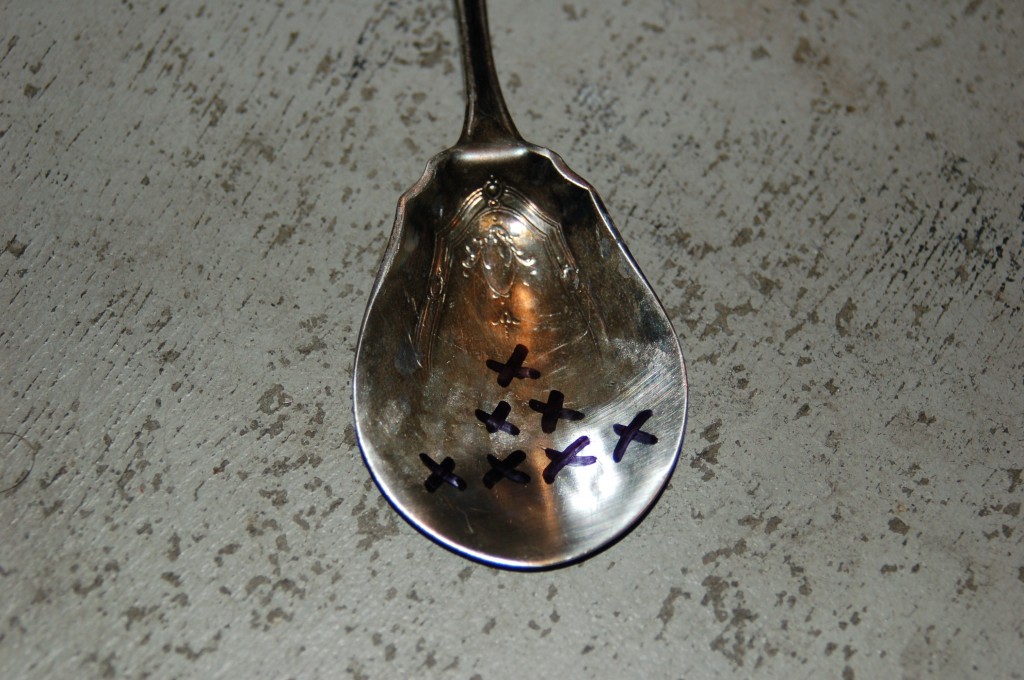 Use the metal stamping set to add the letters. My suggestion is to practice on a scrap piece of metal first. You just hold the letter very sturdy (easiest to hold closer to the bottom) and whack it with a hammer. The thicker the metal the harder this is. This piece was pretty malleable.
To get the sharpie off, use steel wool to buff it off.
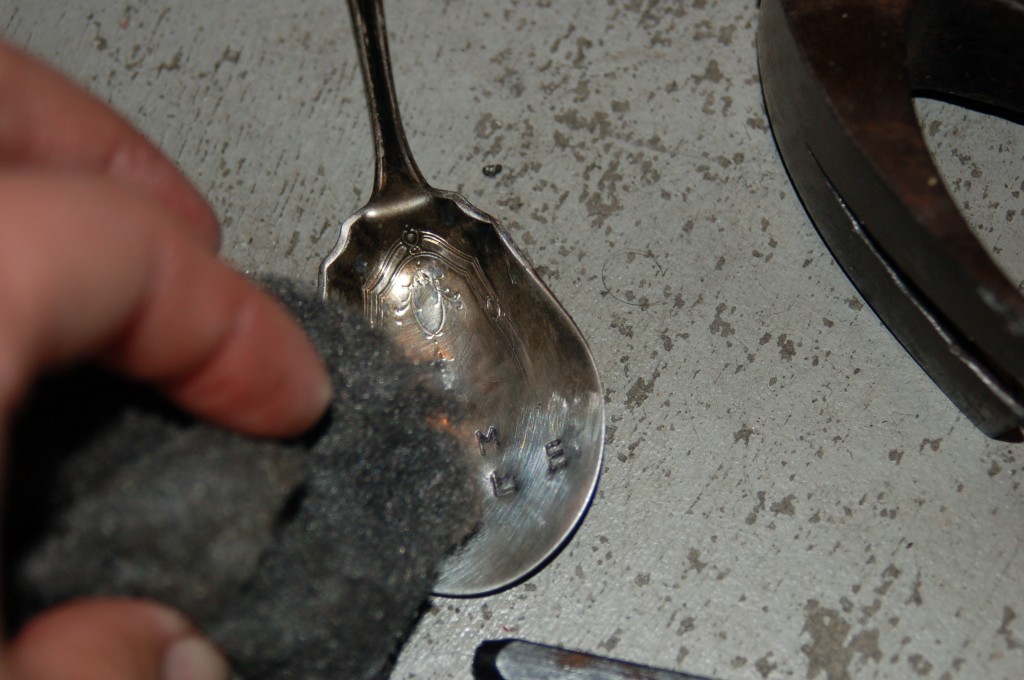 If you want the lettering to stand out a little more, just fill in with the marker then buff again.
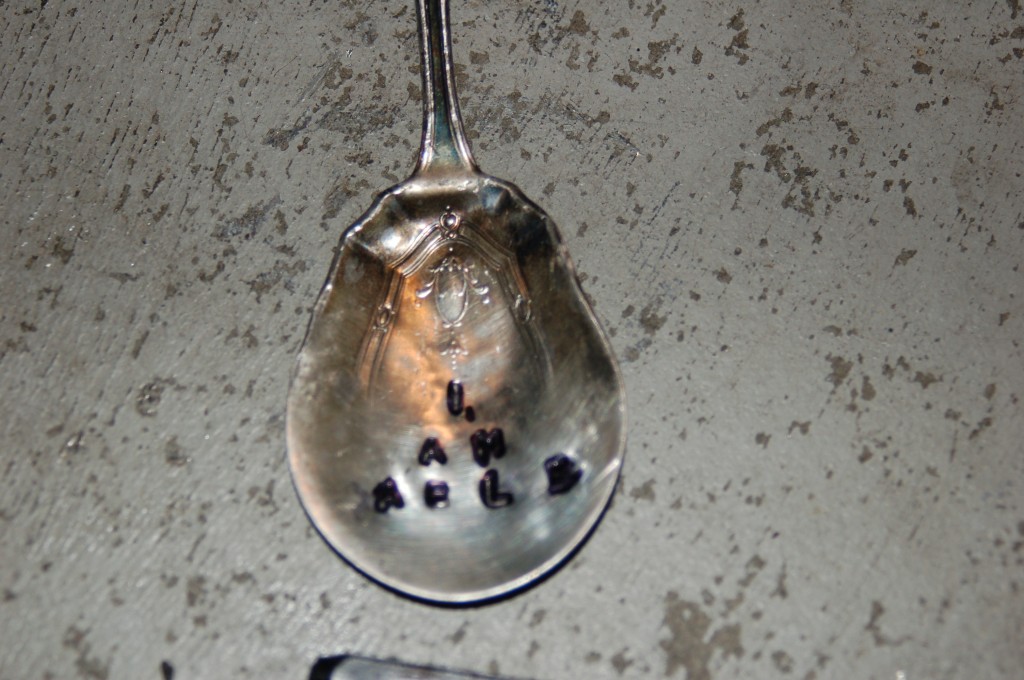 Use the metal drill bit and make a whole to hang it. This is easiest on a scrap piece of wood.
Now is the somewhat difficult part…cutting the silverware!
The best solution I came up with is using side-cutters. The thicker the metal the harder. You just have to keep working it until you have it scored well. Then hold the piece steady with the side-cutters on the finished area and use another pair of pliers to break it off.
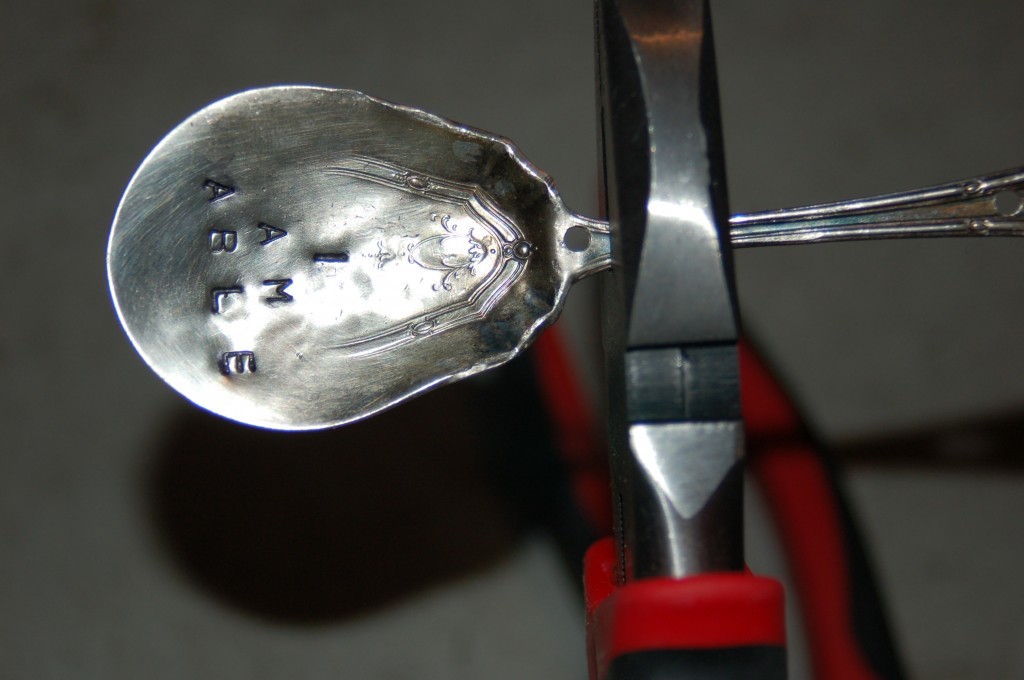 Make sure the whole is fairly close to the top, so the “o” ring you hang it with will fit! 😉 I made this mistake TOO many times.
To smooth out the edge, I just scrape it on concrete. It will work like a grinding stone.
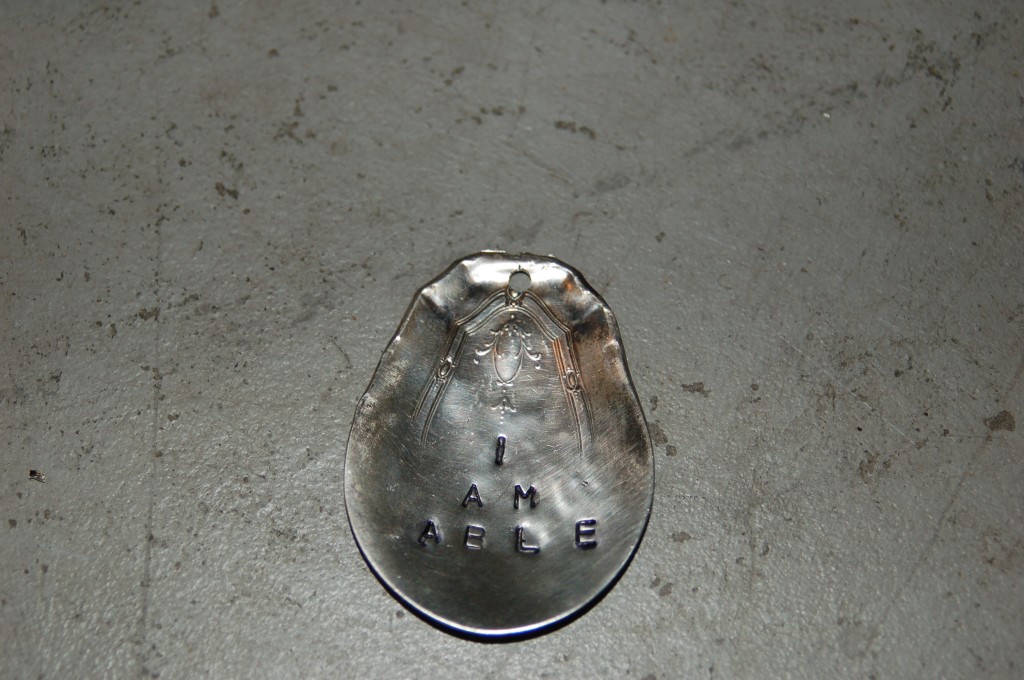 You can use it as a necklace or key chain!
I added a little pearl for a little something extra.
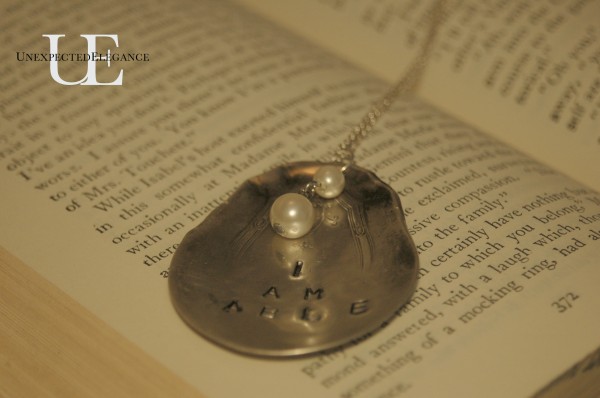
2. Pendant
Supplies needed: drill w/metal bit, side-cutters, piece of silverware and a scrap of wood.
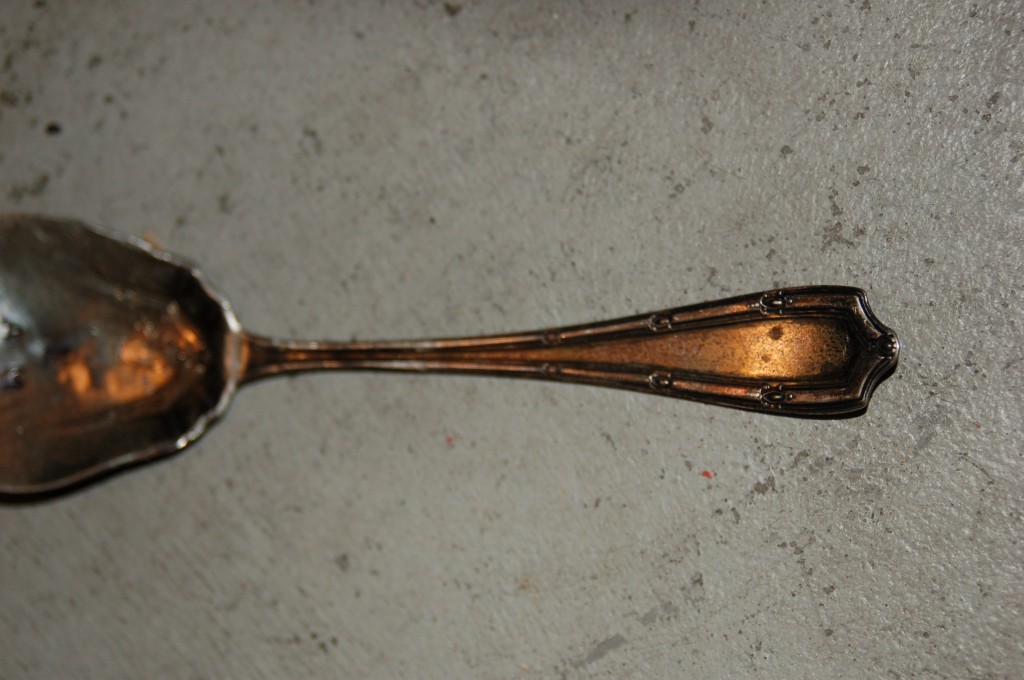
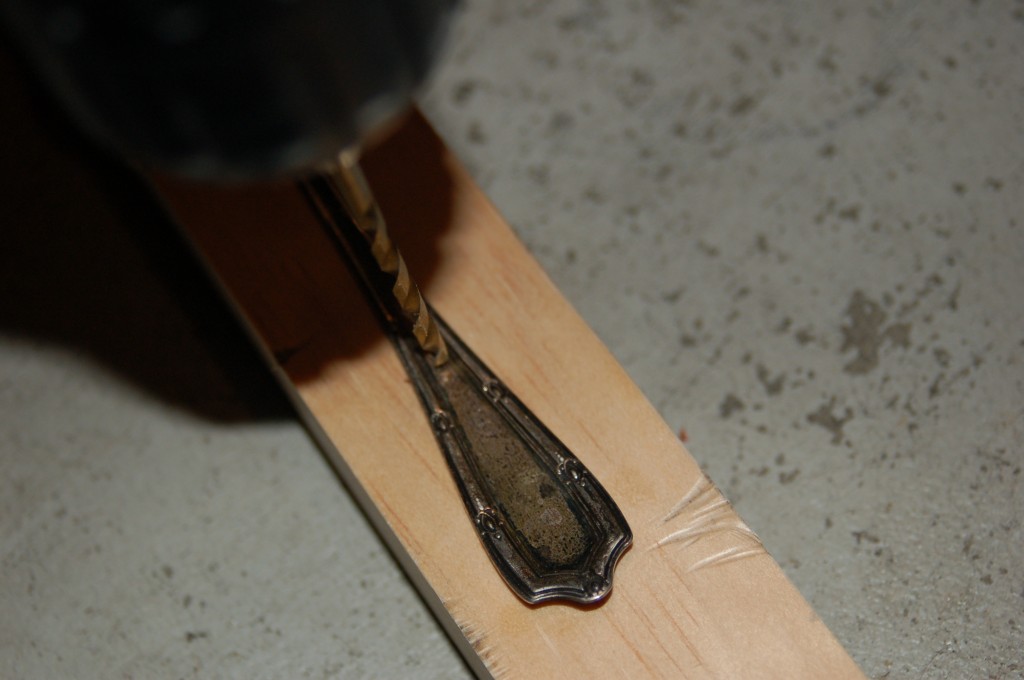
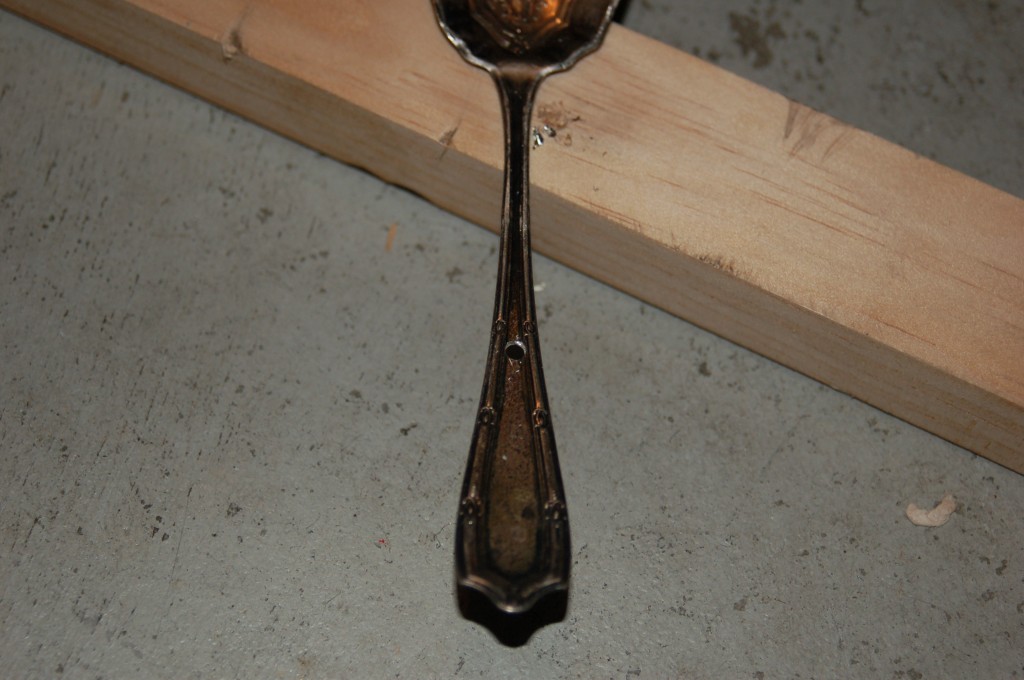
Start by making a whole where you want the top to be.
Just like the above tutorial, use the side-cutters to score and “break” the metal.
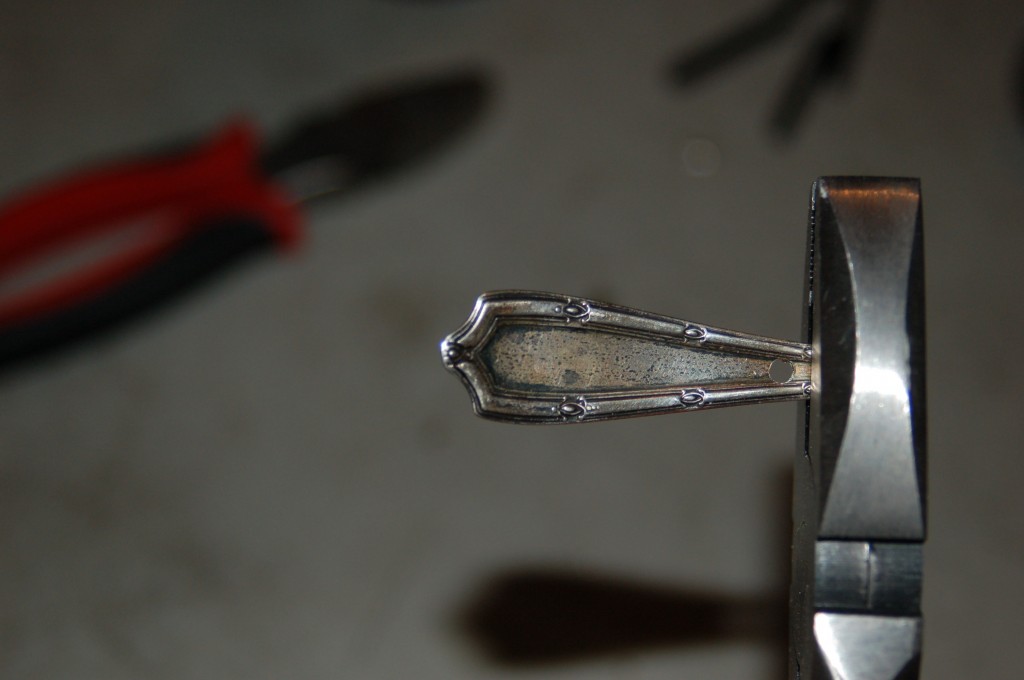 This type of pendant is fairly easy to make. I added a pearl drop on this one too!
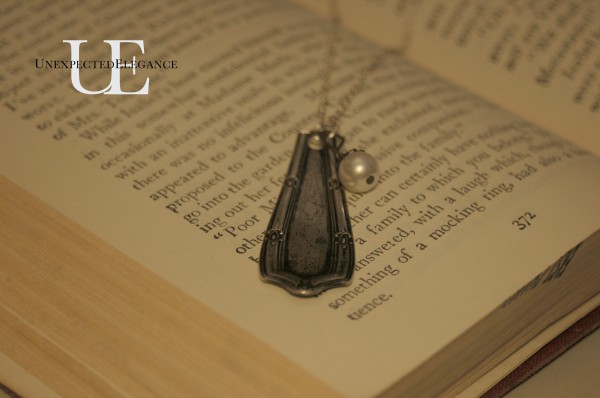
~Angela

This is awesome! Great job on some lovely jewelry!
You should link up to my Esty Shop party on Thursdays, BTW.
I am following you now… 🙂
Oh I love this! Great tutorial. Will give it a try!
Mandy
http://www.projectqueen.org
This is beautiful! I’ll be linking it tomorrow 🙂
XO
Kristin
Thank you for the tutorial! I have some old silverware of my grandmothers that I would love to try to make into jewelry or garden stakes! Thanks for sharing step by step! Christie at Three Pixie Lane
Hi Angela, enjoyed your pics of the fair! I looked at them very, very closely! ha! GREAT STUFF!
I would love it if you would link this project up to my 1st EVER link party. I would LOVE to link something to your transfer party, but I don’t have anything I have transferred yet, but I’m getting ready to…when I do, I promise to link up!
http://www.projectqueen.org
Ooo, this looks like sooo much fun!!! I’ve been wanting to try those letter stamps. Did you get those at Harbor Freight, too? I just need more projects to try. 🙂 But this looks sooo fun!!
Yes, the stamps are from HF. You’ll have to let me know if you try it!
Hi, just ran across your blog and love your style.
You’ve probably heard/read about this between then and now, but if not – check out some info about annealing the metal. It makes it a whole lot easier to work the metal flat by softening it. (Hammering it restores the “hardness”.) I’ve made literally thousands of pieces of repurposed silverware items and I tell you, the difference between working un-annealed and annealed metal – flatware in particular – is astounding!
Keep making the world a more beautiful place… 🙂
This is awesome! I hope you don’t mind but I added it to my Pinterest board. If you want me to remove it, let me know.
I am working on things like this but am having a hard time deciding what size stamps…what size are you using? Thank you! Crafting in NE
Maggie, I have two sets: 1/8″ and 1/4″ sizes. It will depend on the size of the piece I’m working with. I got both my sets at Harbor Freight and they were around $10 each. Hope that helps!
~Angela
Couldn’t you use a hacksaw to cut the silverware? Then smooth with a file or the concrete.
Barb, you can definitely use a hacksaw. I would just make sure you clamped the silverware so it wouldn’t move.
I’m truly enjoying the design and layout of your blog.
It’s a very easy on the eyes which makes it much more pleasant for mme to come heree and
visit more often. Didd you hire out a designer to create your
theme? Great work!
Yes, I had someone design it! 🙂
thanks for a great demo for newbies like me. Best I’ve seen, detailed, but not overtalked.
Great instructions!
Thank you!
Thanks so much for sharing this info, Angela! We have my husband ‘s mother’s flatware -and I’d love to share pieces with the family with her initials or name stamped on it. However, hers is stainless, not silver. Have you tried this technique on stainless? Just curious. Think I might give it a try on an odd piece or two. Thanks again for sharing with us!
Beth, it’s much harder to work with stainless steel. If you are not getting too fancy, it might work? Stamping stainless is almost impossible. Good luck!
I like to bend the handle to make a bale on the top, then cut it when you have it bant about half way.
Thanks for sharing your tip!!
Good info, I’m going to give this a try, thanks
How do you get the small turns on the fork tine?
Ed, what are you trying to make with the fork tine? I have used a pair or needle nose pliers to “curl” the tines.
Hello,
Thank you for the tutorial! Your pieces are beautiful! I’m making different kinds of jewelry out of silverware, and am having a hard time finding the silverware-where do you get yours?
Amy, I have collected it over the years so I have a pretty big stash. I used to get it from auctions or thrift stores. Thrift stores are not very reliable any more but you might try antique stores. I think I generally pay a few bucks per piece from antique stores, but it’s a little harder to find now. Ebay is another good place to look. 🙂
I fine that a small bolt cutter works very well taking the handles off. I’m lucky enough to have s husband with LOTS of tools use and bolt cutters are quite handy for this.
YES!! It’s very easy with bolt cutters!! 🙂 Thanks for stopping by!
Permanent marker can often be removed by rubbing and dissolving it with a bit of vegetable oil.
Thanks so much for the tip!!!
My husband has a large metal vise that I use to pre-flatten my silverware. I wrap the piece in a rag to keep from marking and keep clean then crank her down! SO much easier than a mallet
Great tip!!