Get a tutorial for how to create a custom ductless range hood. This is perfect for homes that can’t vent to the outside.
One of the most challenging aspects of my recent kitchen renovation was tackling my range hood. Our range is in the center of our house, so there is no way to vent it outside.
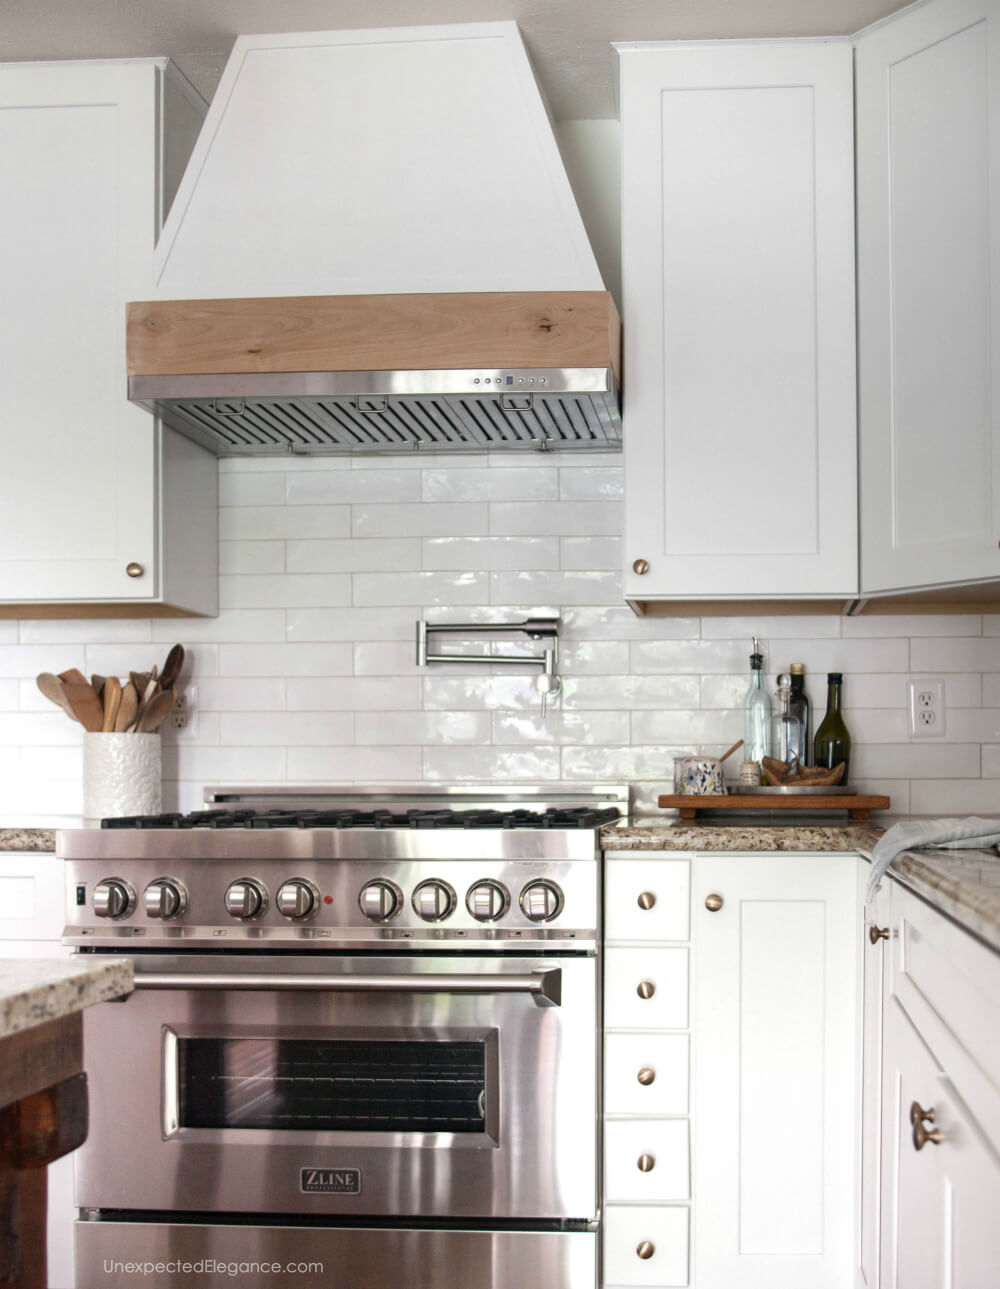
I wanted a custom hood that would not only function properly but look pretty. The problem with our previous vent was that it recirculated back into the kitchen and had a large grate on the FRONT. (It wasn’t the prettiest!)
I researched for months trying to figure out a way to get the look I wanted without a vent to the outside. This is what I came up with and I think it turned out great.
SIDE NOTE: Check with your building codes before installing and always use common sense!! 😉
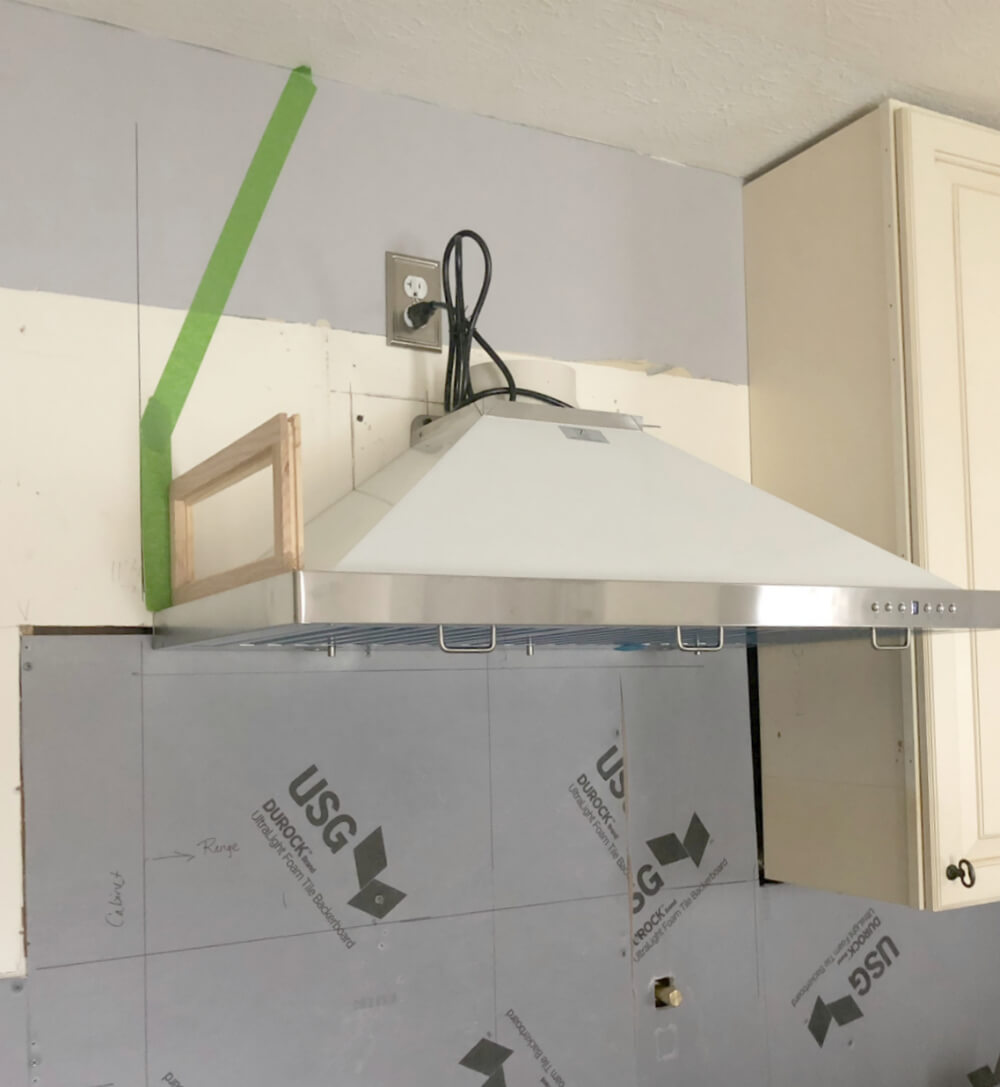
I purchased a Zline 36″ Wall Mount Range Hood: HERE. Just make sure that whatever you purchase is the correct size for above your range and has a recirculating feature.
I installed it according the directions, but left off the metal flute. ↑
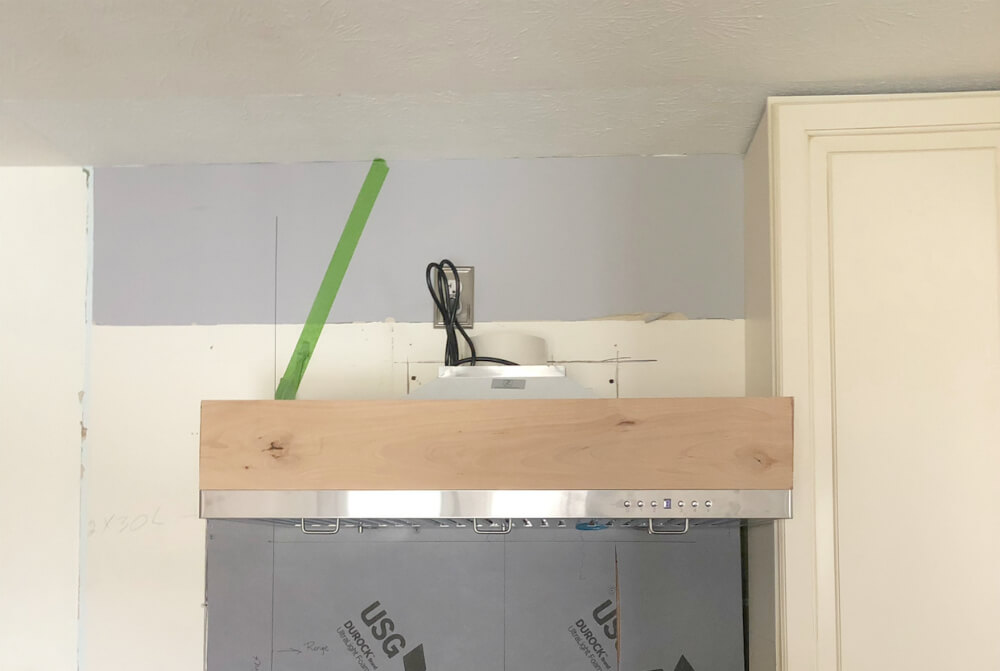
Then I just played around with the design. I knew I wanted a nature wood accent, so I started with that and worked up.
TIP: Use a painters tape to help come up with the shape.
IMPORTANT: If you have cabinets that will butt up to the vent, you will need it to angle up to the ceiling. You’ll see why you need to do this below.
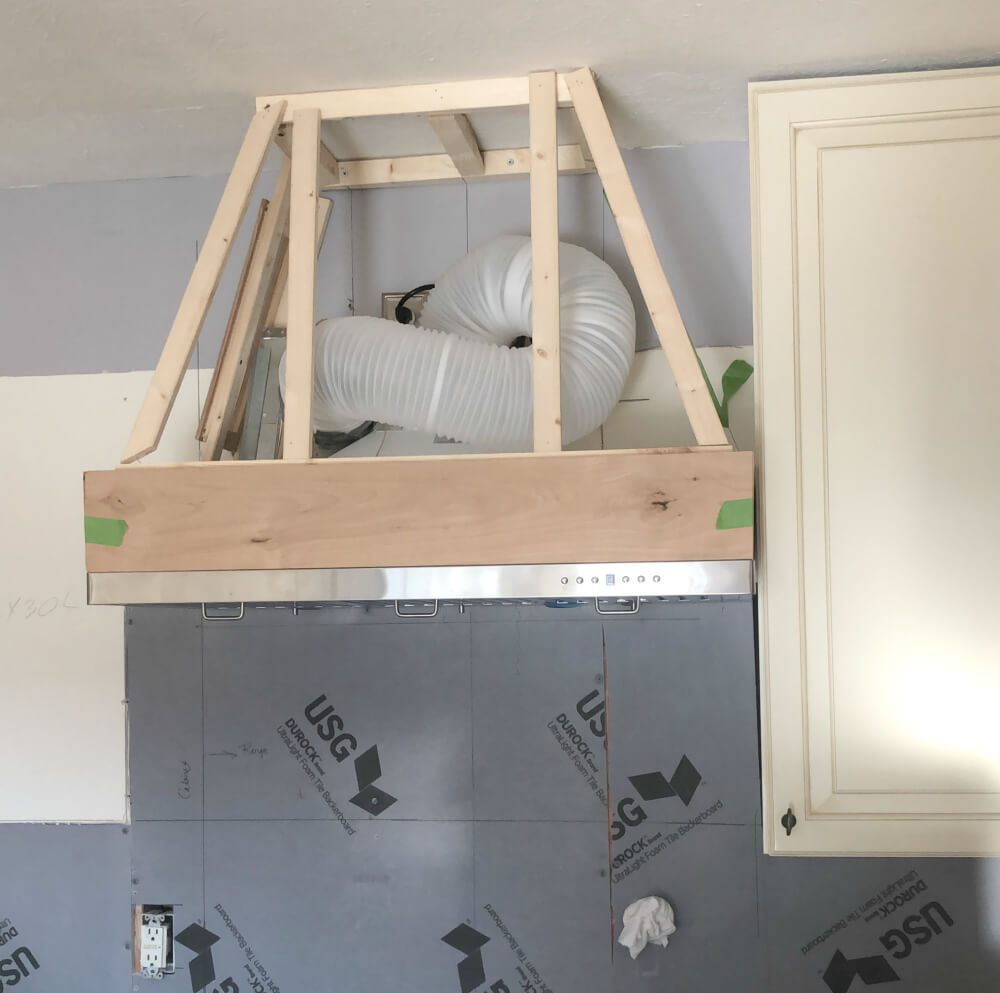
The vent came with a flexible duct so I attached it to the top of the vent using duct tape and then added an angled boot to the opposite end. This is what it looked like: HERE.
Then I created a simple frame using 1×2’s and 2×2’s. It doesn’t look the prettiest, but I wasn’t too concerned because it was all getting covered.
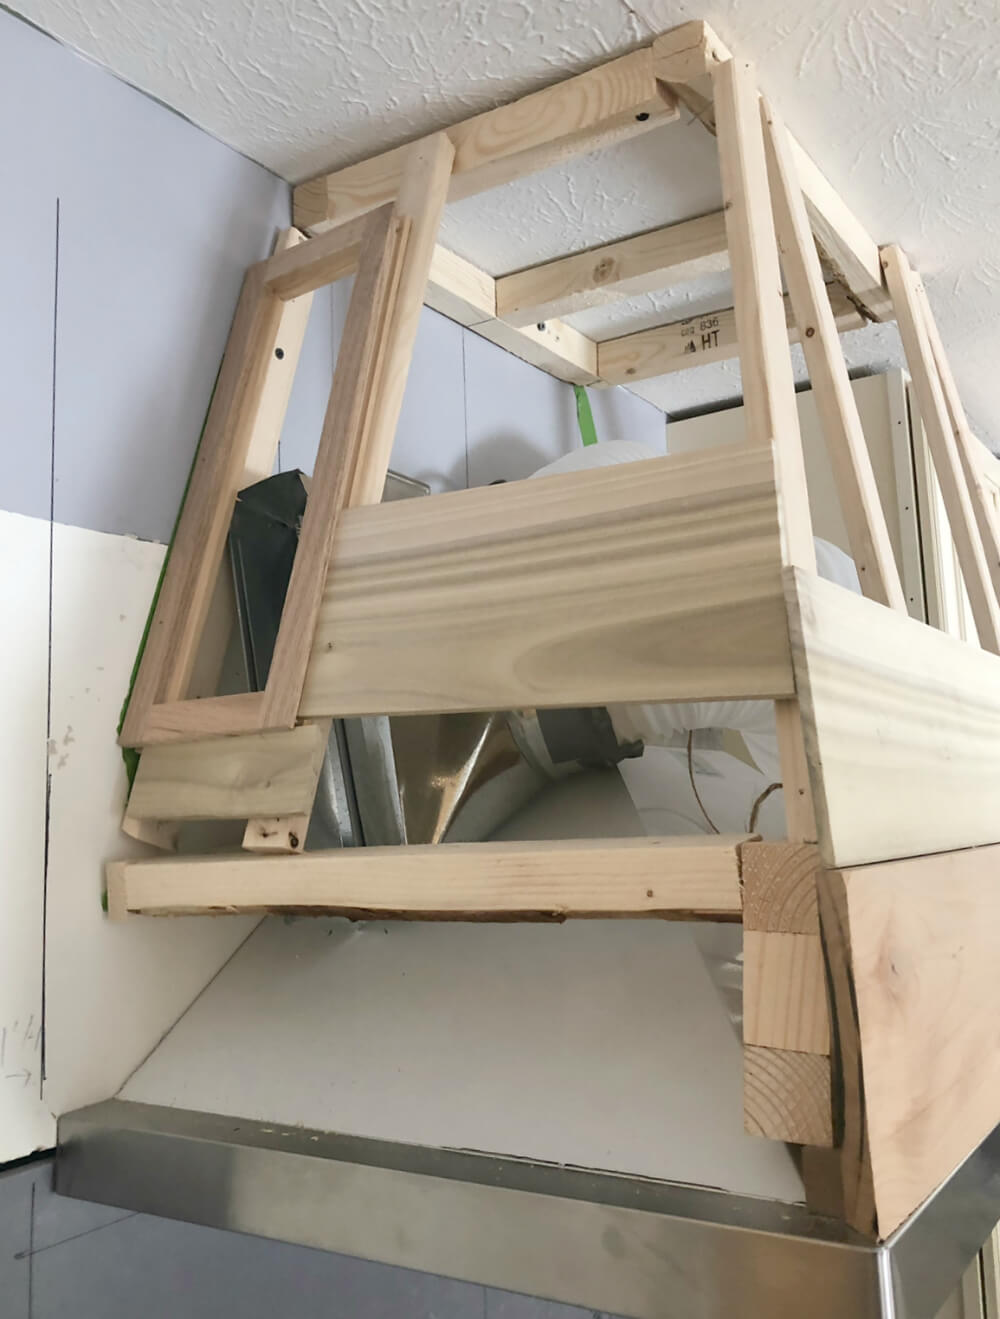
For the air to vent out properly, I purchased a wooden floor vent cover and attached it to the side. ↑
There are different types of floor vents and I got a flush mount. I wanted the vent to be flat, but that is just a preference.
The vent I purchased is made to integrate with floor planks, so I added wood for support, then fitted a piece over to make it all flush.
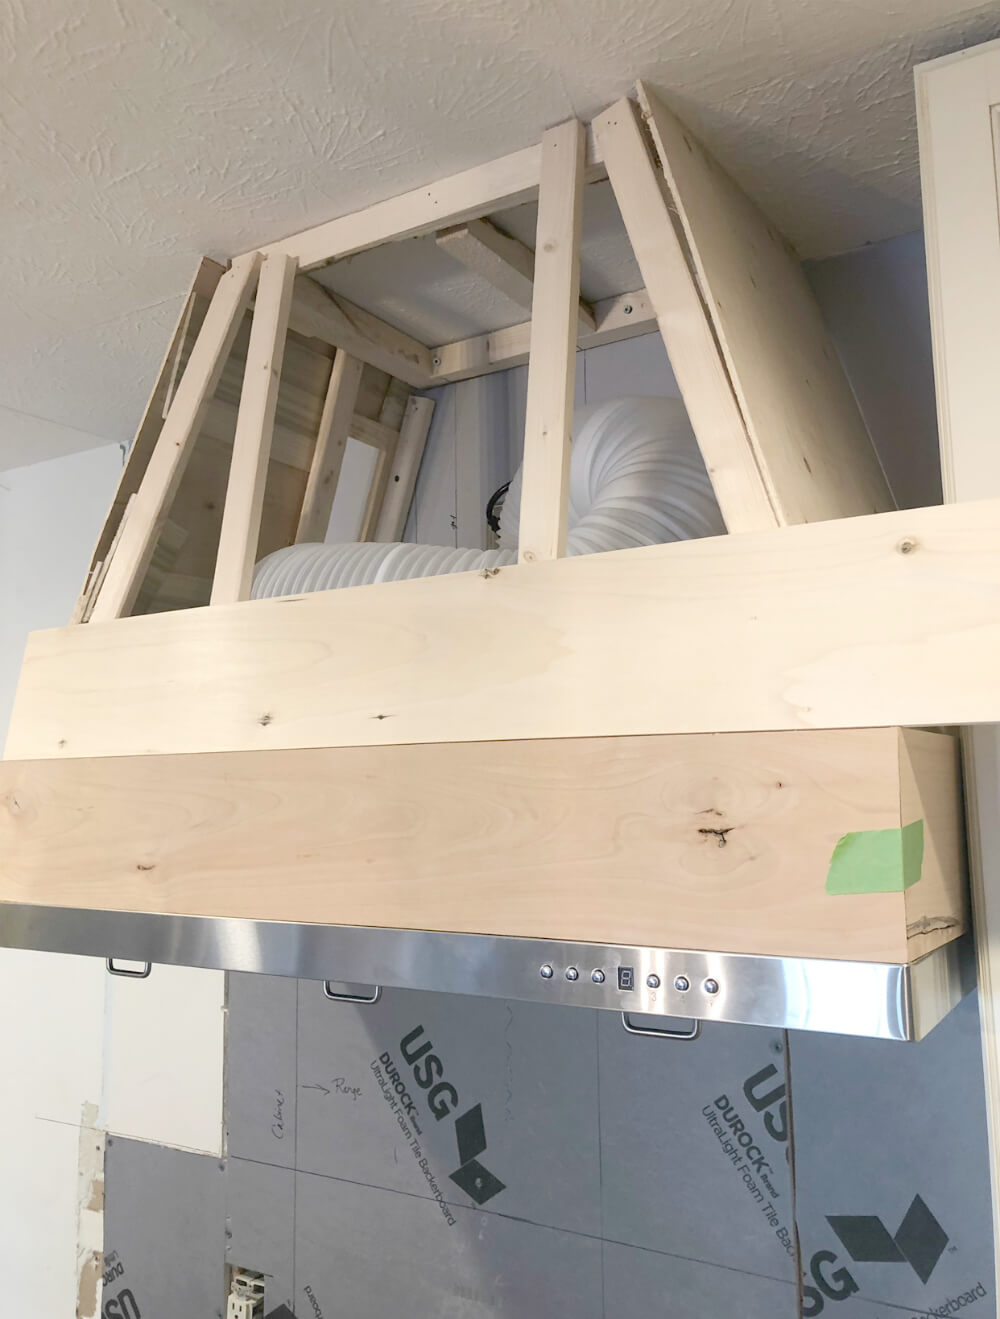
Once the base was together, it was like fitting together a puzzle! I created the outside using thin plywood.
IMPORTANT: Before you nail down the exterior, attach the duct to the vent with duct tape. Be sure it’s very secure, because it will be almost impossible to reattach it after you nail the plywood to the frame.
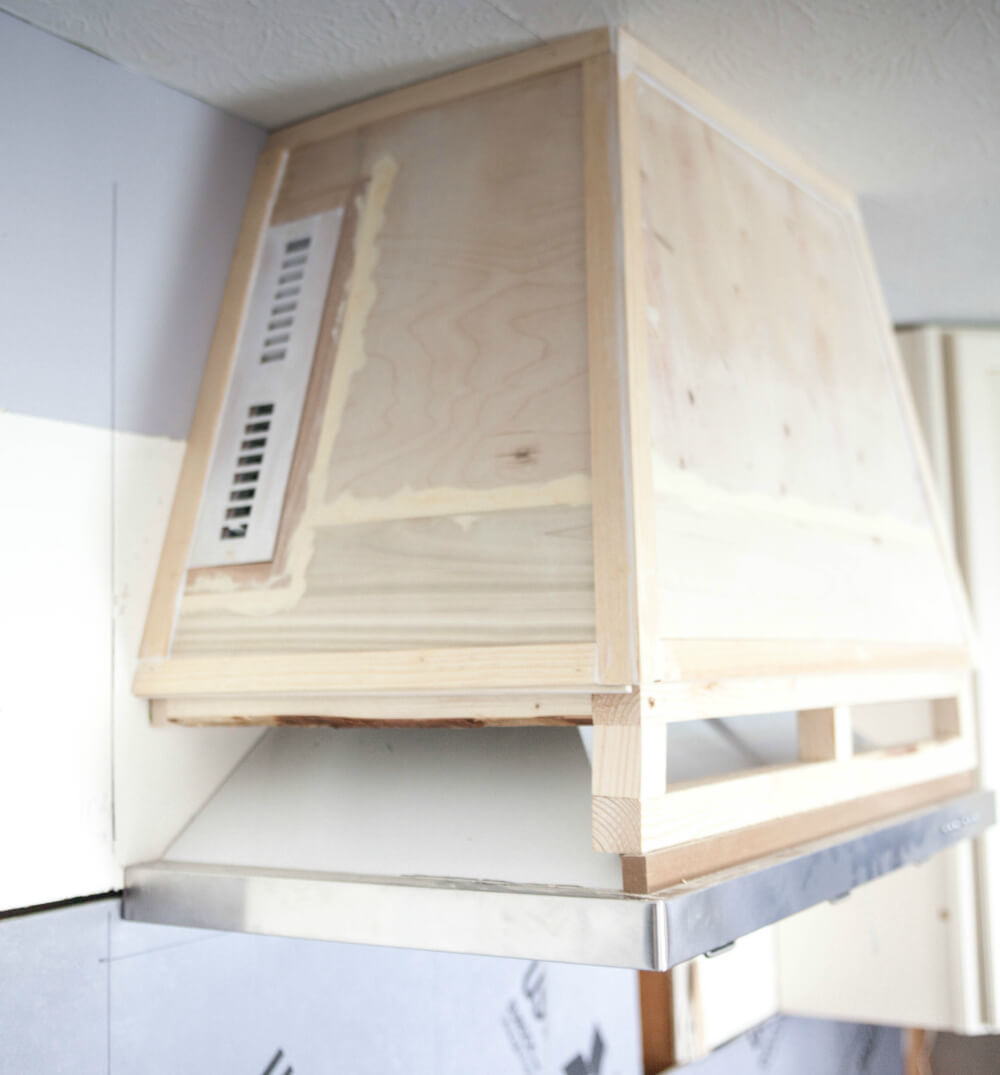
I added some lath around the edges for some detail, then caulked and puttied all the seams.
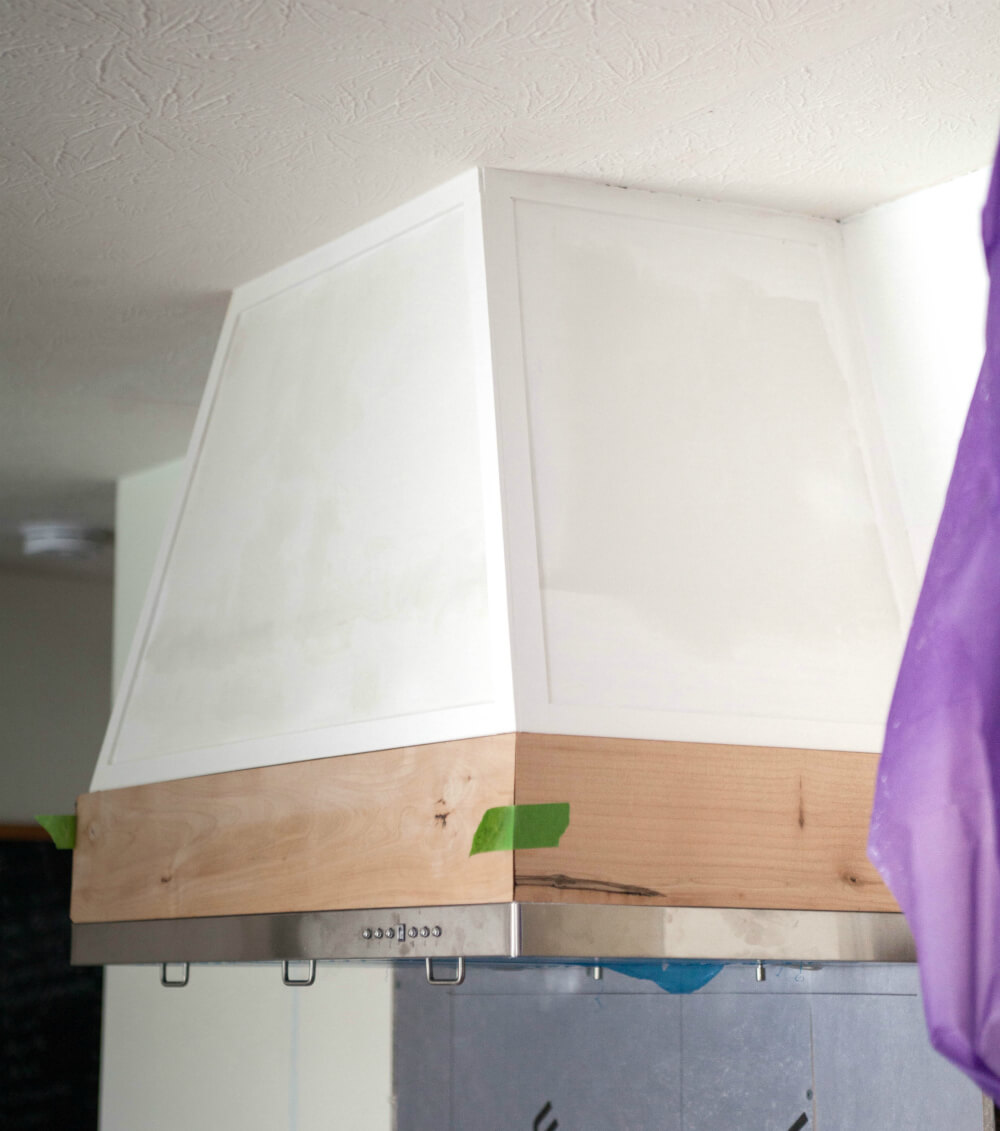
The wood wasn’t quite as smooth as I wanted so I added a thin layer of joint compound…however, it looked fine without this step.
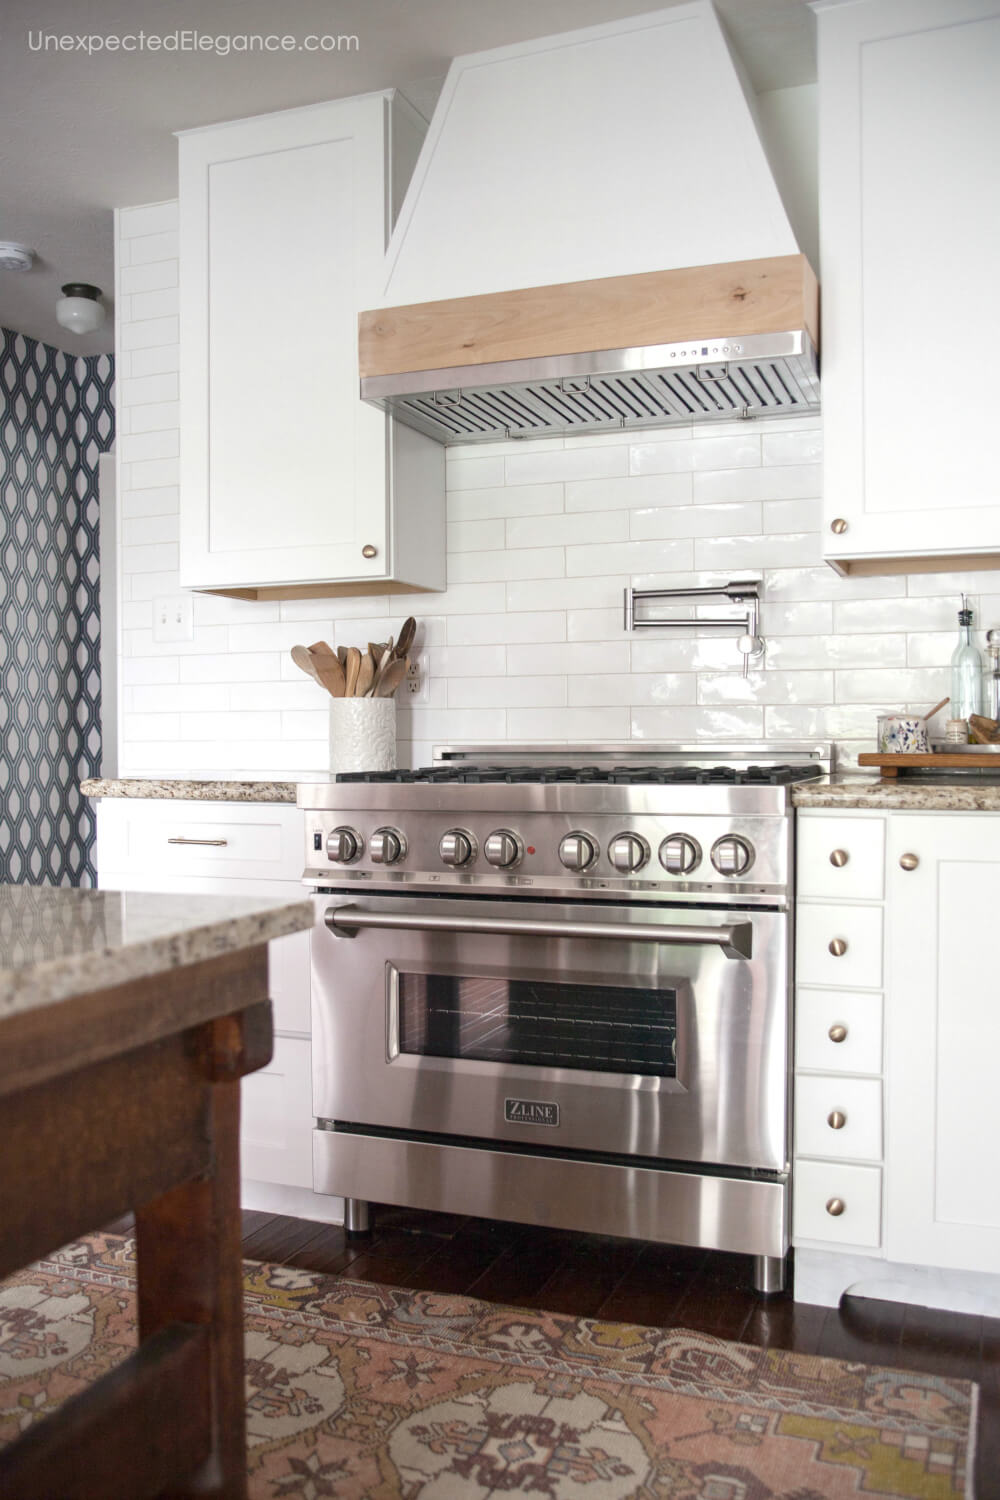
After it was painted, I attached the wood to the base using a few finishing nails!
I love how it turned out and it’s even better than I had hoped. You don’t even notice the vent on the side!!
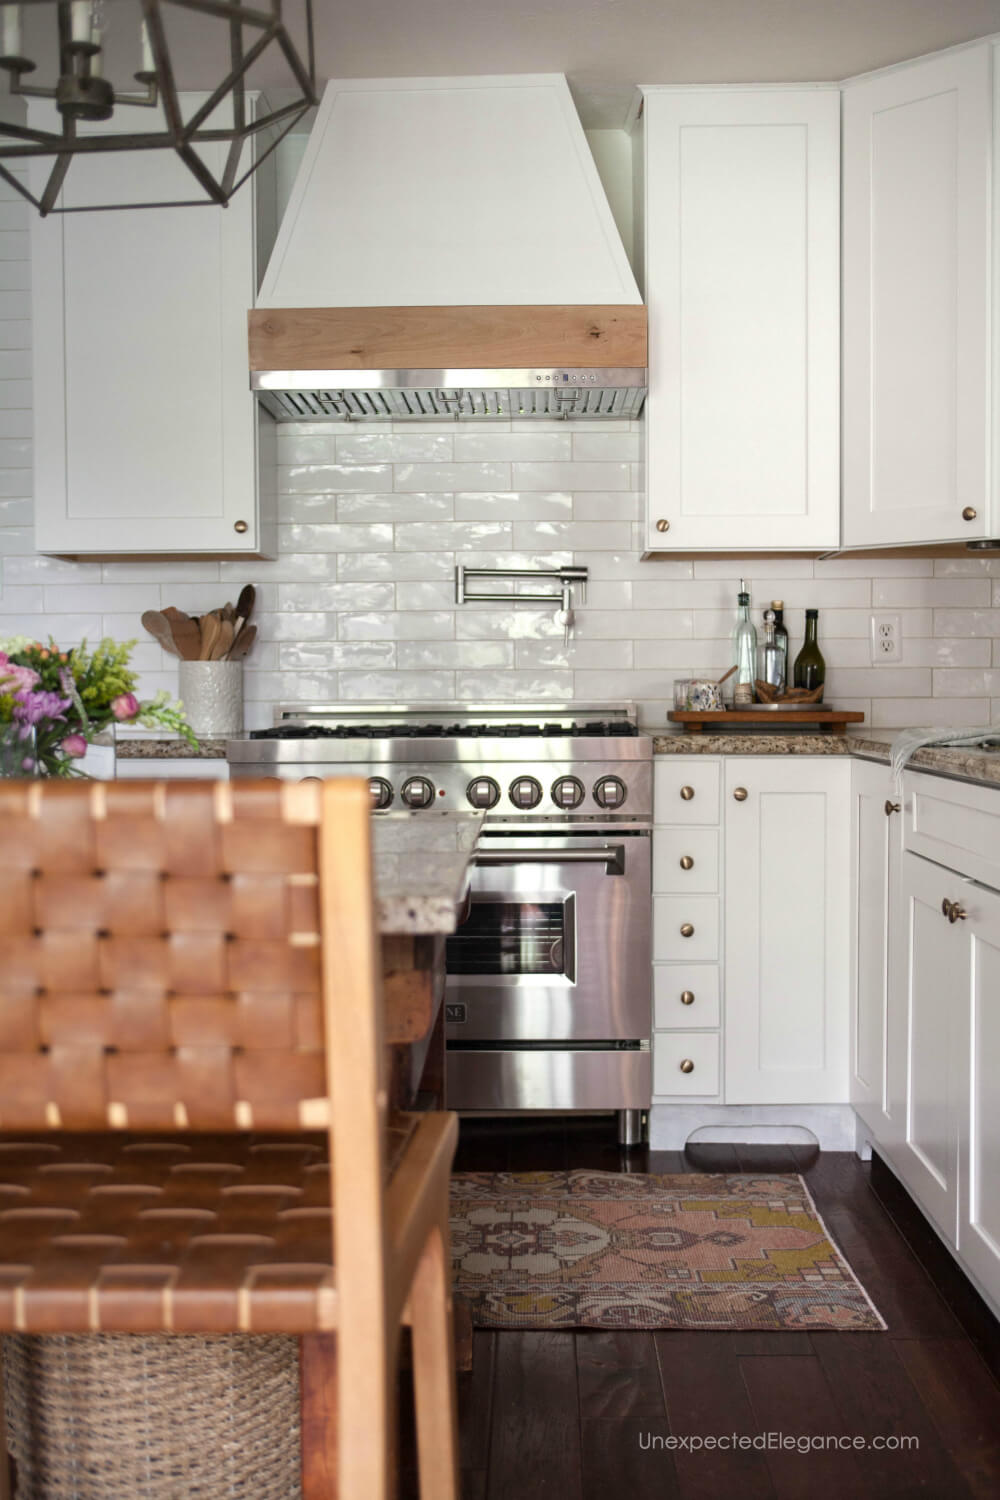

Just curious if you’ve noticed a build-up of grease on the side of your range hood or cabinet where your vent is located?
I was wondering the same thing…I was also wondering if the air coming out is hot causing an issue with the paint
Looks good! What type of wood did you use for the trim piece?
Love how it turned out! Thanks for sharing!
This is the first cover I’ve seen on a ductless hood with a vent, but How will you change the filters?
A very interesting topic that I have been looking at, I think this is one of the most important information for me. And I’m glad to read your post. Thanks for sharing! nytimes crossword
I can tell from all the comments on your pieces that I’m not the only one having fun here io games unblocked
This range hood is very suitable for my kitchen 2048 game