It’s been two summers since I updated our concrete patio and it still looks amazing! I had run out of money and time last year during the One Room Challenge…and I needed a quick fix to the ugly, cracked concrete.
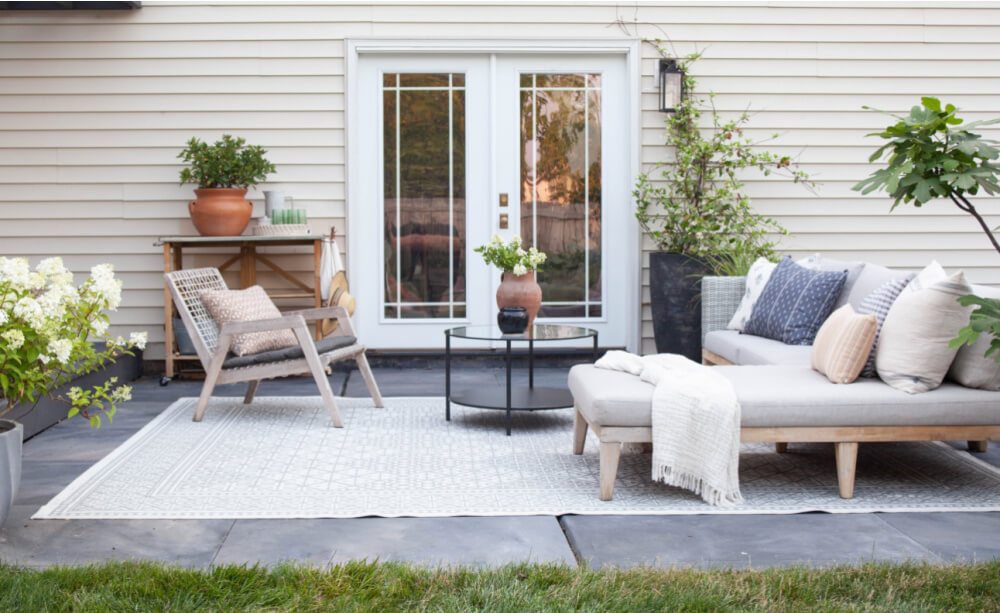
Since we moved into our house 13 years ago, I never liked the concrete. It was just too “flat” and lacked character. I had tried stenciling it several years ago, but it didn’t look the way I wanted…so I painted over it with gray. This is what it looked like:
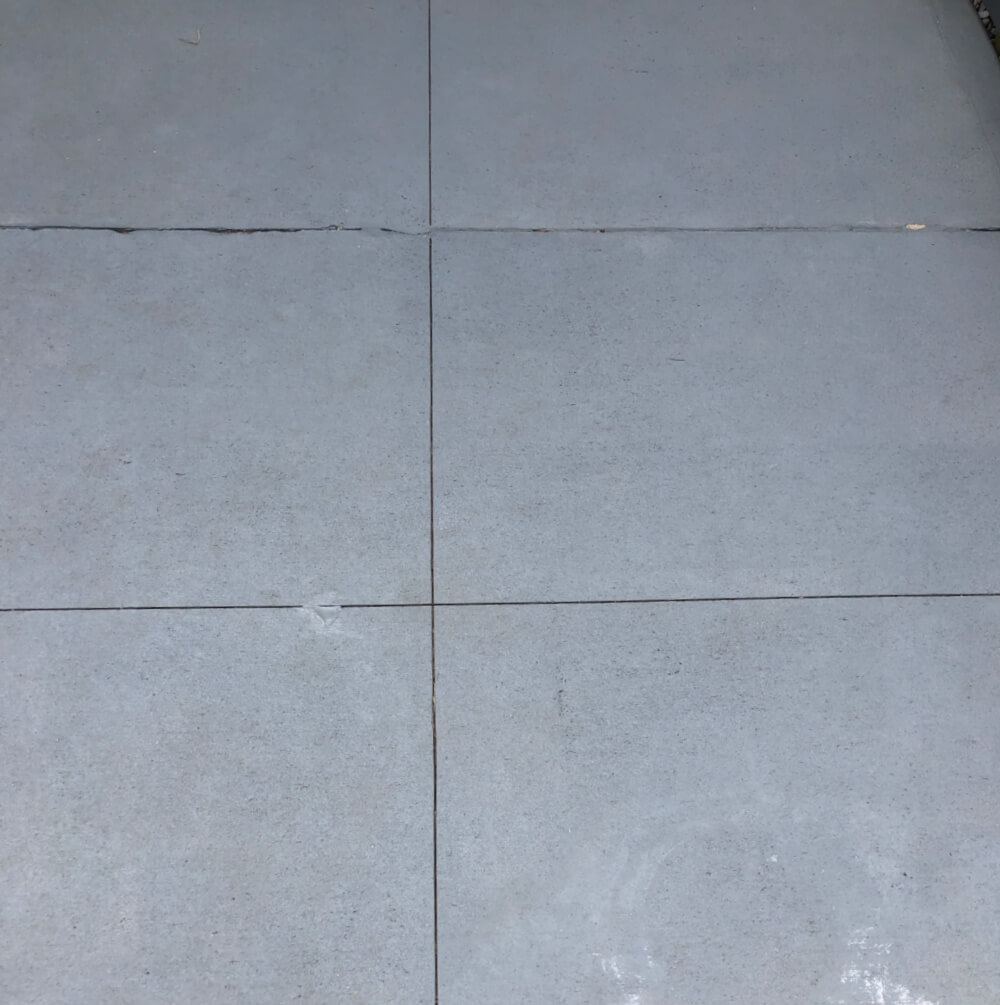
It’s blah, to say the least! I spent around $20 on patio paint from the craft store and created movement that looks like slate. Here’s how…
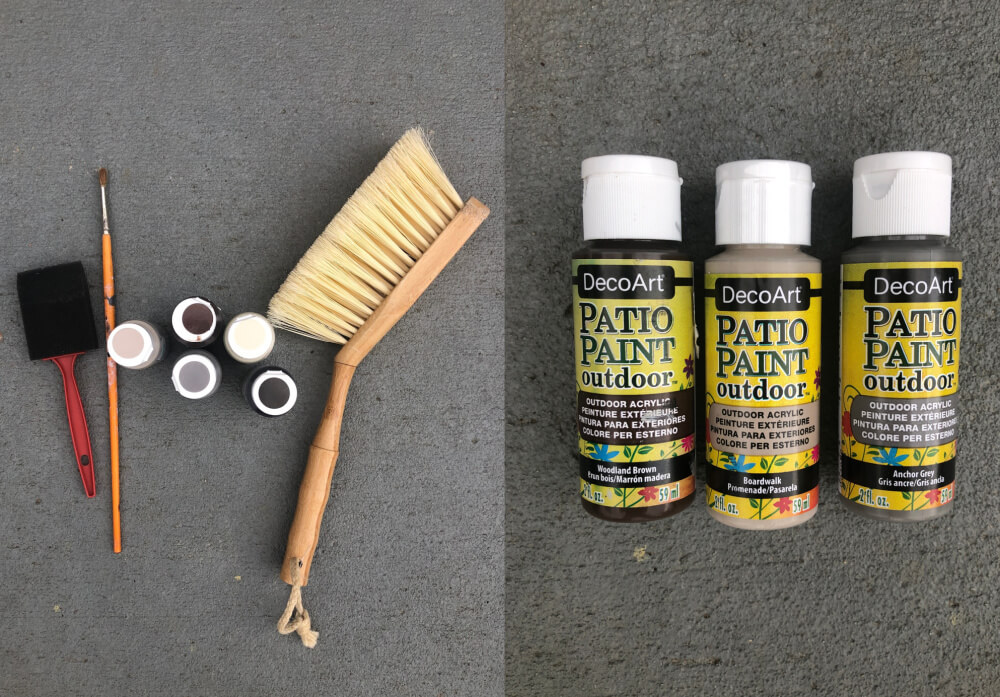
Supplies:
- Craft Patio Paint in black, brown, grey, and tan/off-white (I used this brand in these colors: Woodland Brown, Boardwalk and Amber Grey)
- Chip Brush or Sponge Brush
- small broom
- extra paint brushes
- plate for paint (disposable)
- cup of water
Steps
- Clean the concrete well with a hose or pressure washer. You want debris gone! Then let it completely dry. I did this the day before painting.
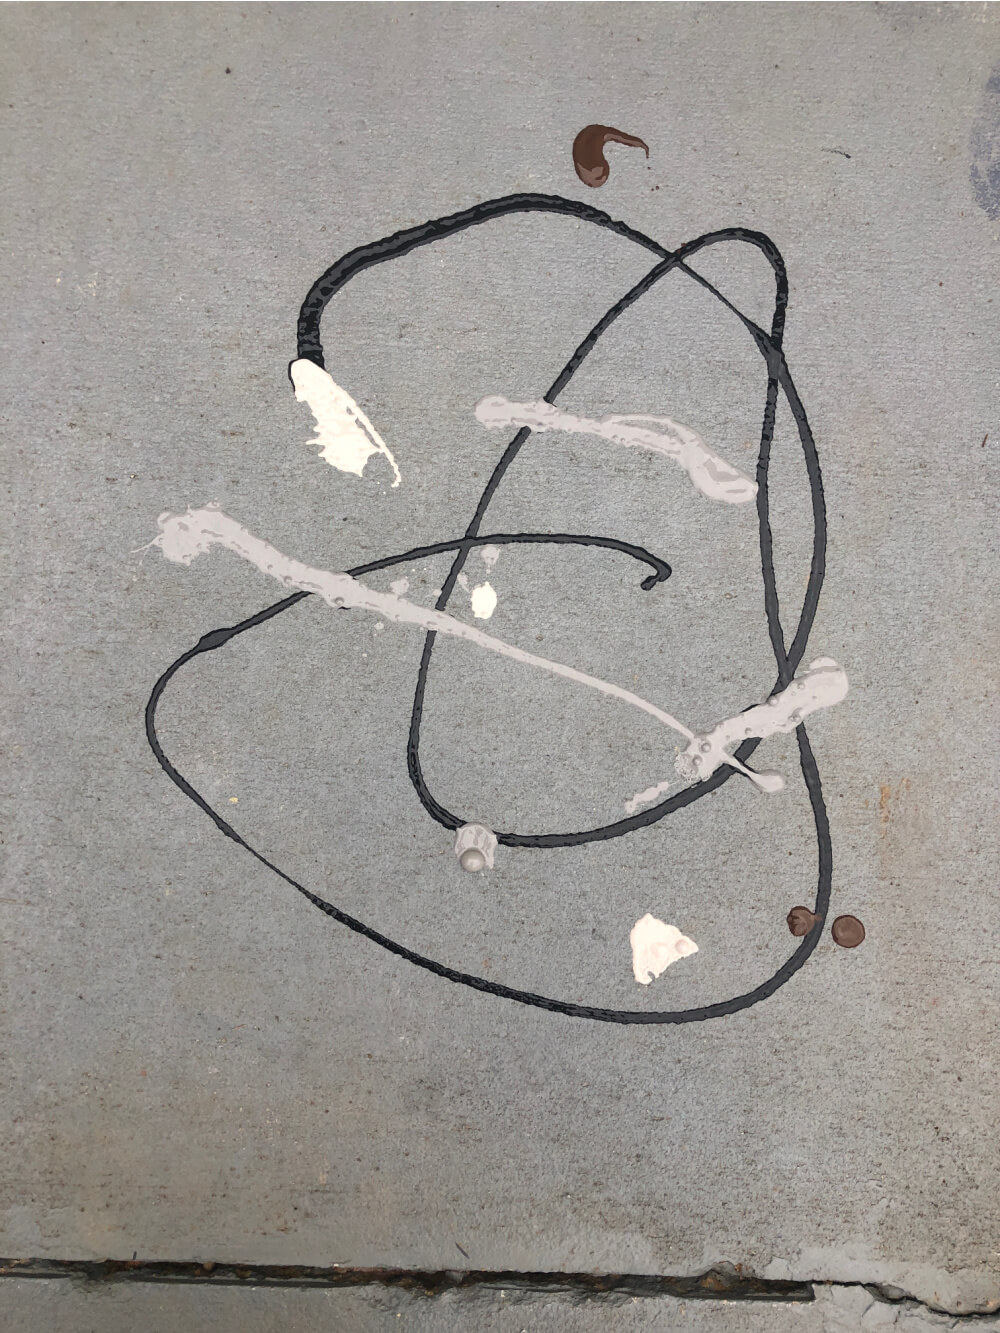
2. Using a broom (I like to use a small handheld one.), sweep the area one more time to make sure there isn’t any dust. Then, drizzle and swirl the different color paint onto the concrete.
**This doesn’t have to be pretty! You want a mixture of dark and light colors to give the paint some depth and movement.
3. Use the brush to swirl and mix the paint together, but you don’t want them to completely mix into one color.
*There should be areas that are really light and some that are really dark.
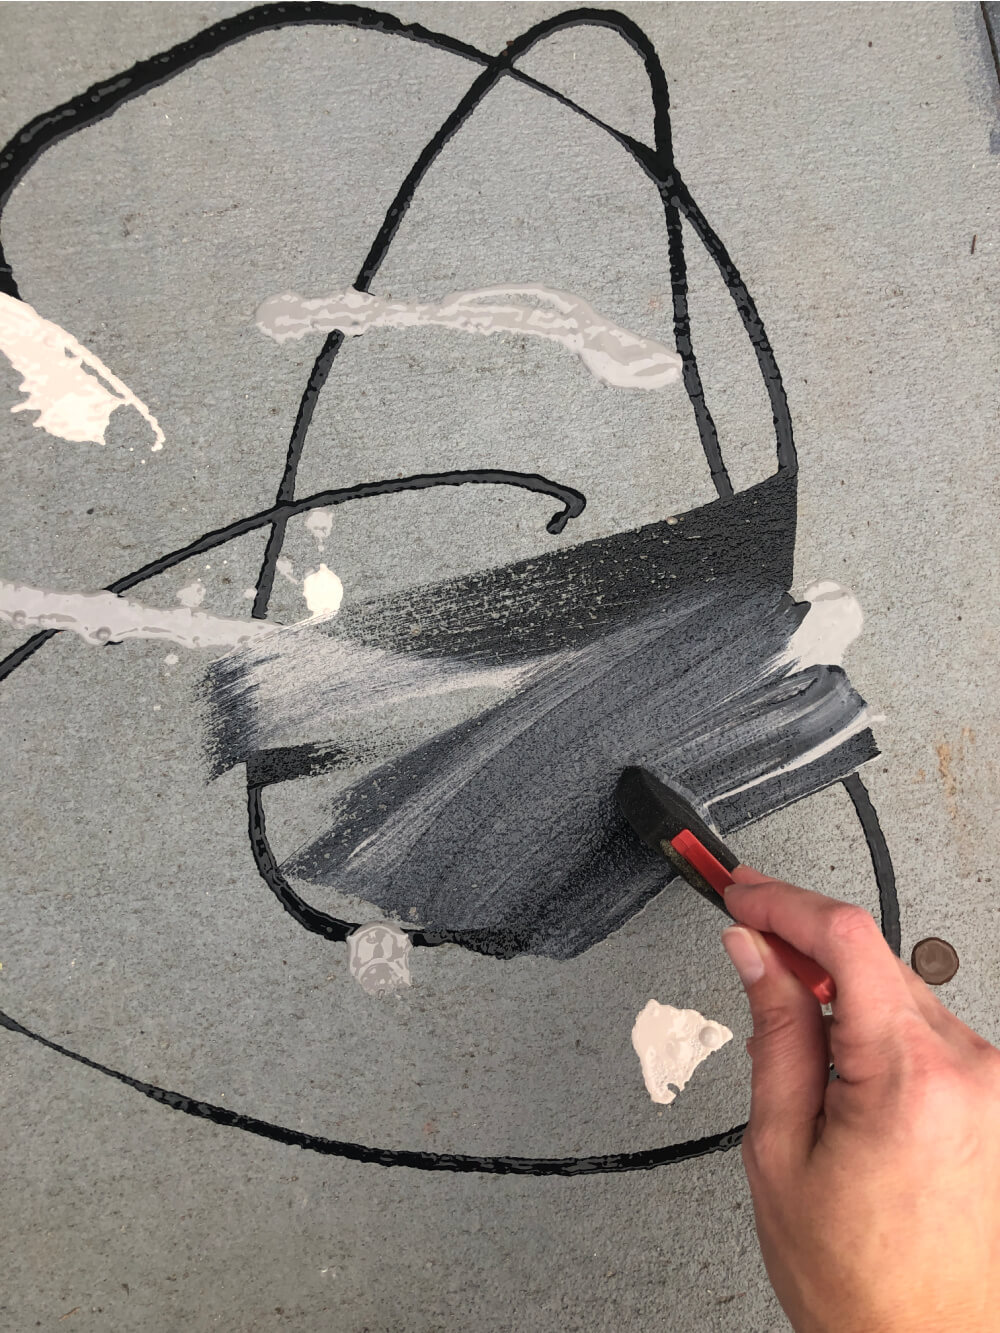
4. Keep doing this in smaller sections so the paint stays wet while you’re working with it.
*I dampened my brush in a little water sometimes to help the paint move around more when it would start to dry. This isn’t recommended by the paint company but worked for me… and has held up for two summers.
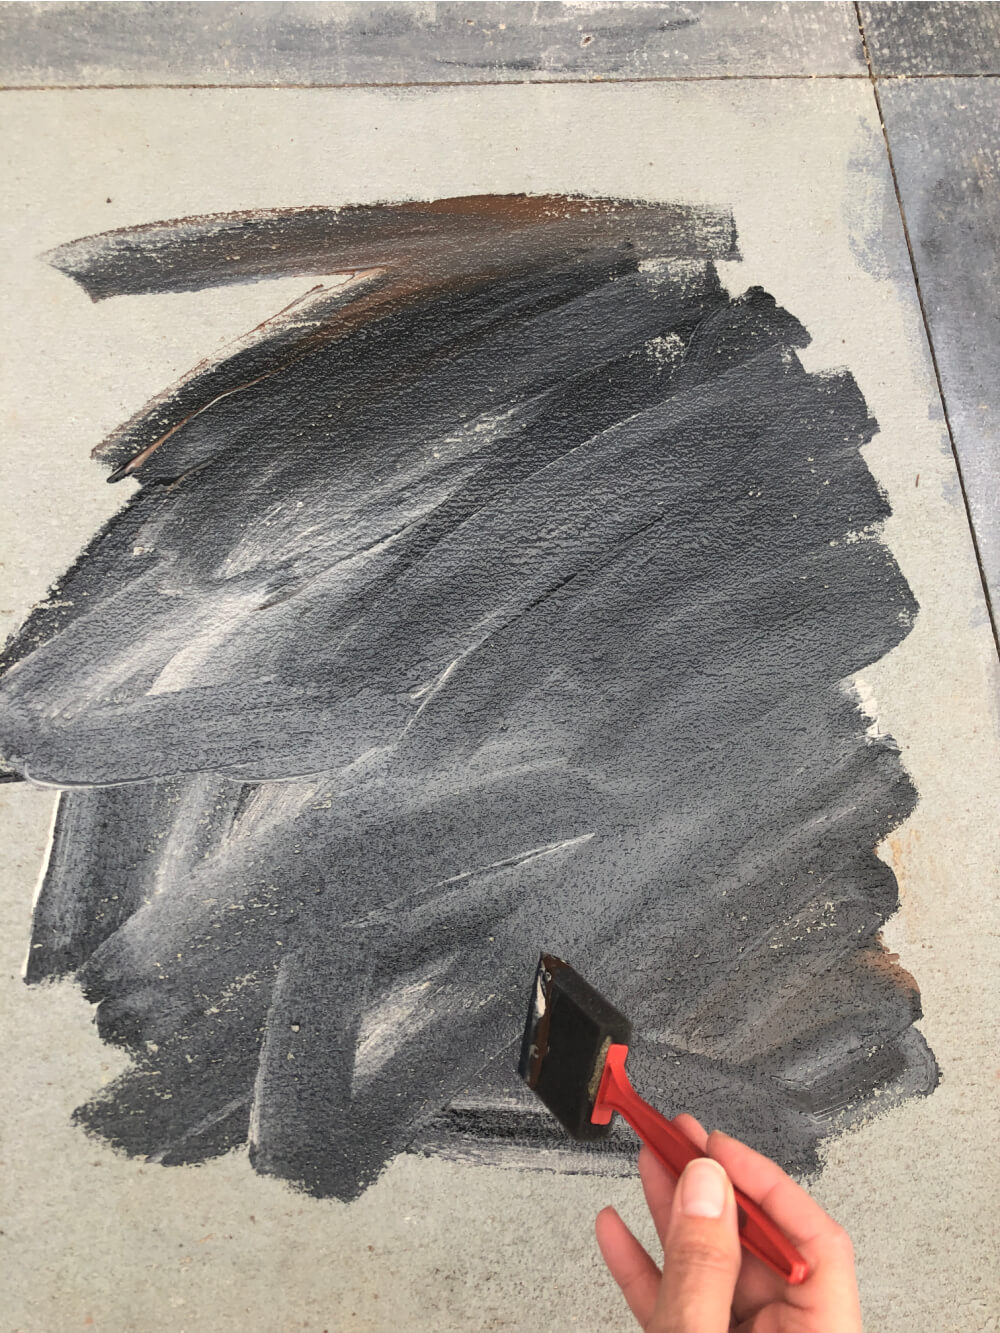
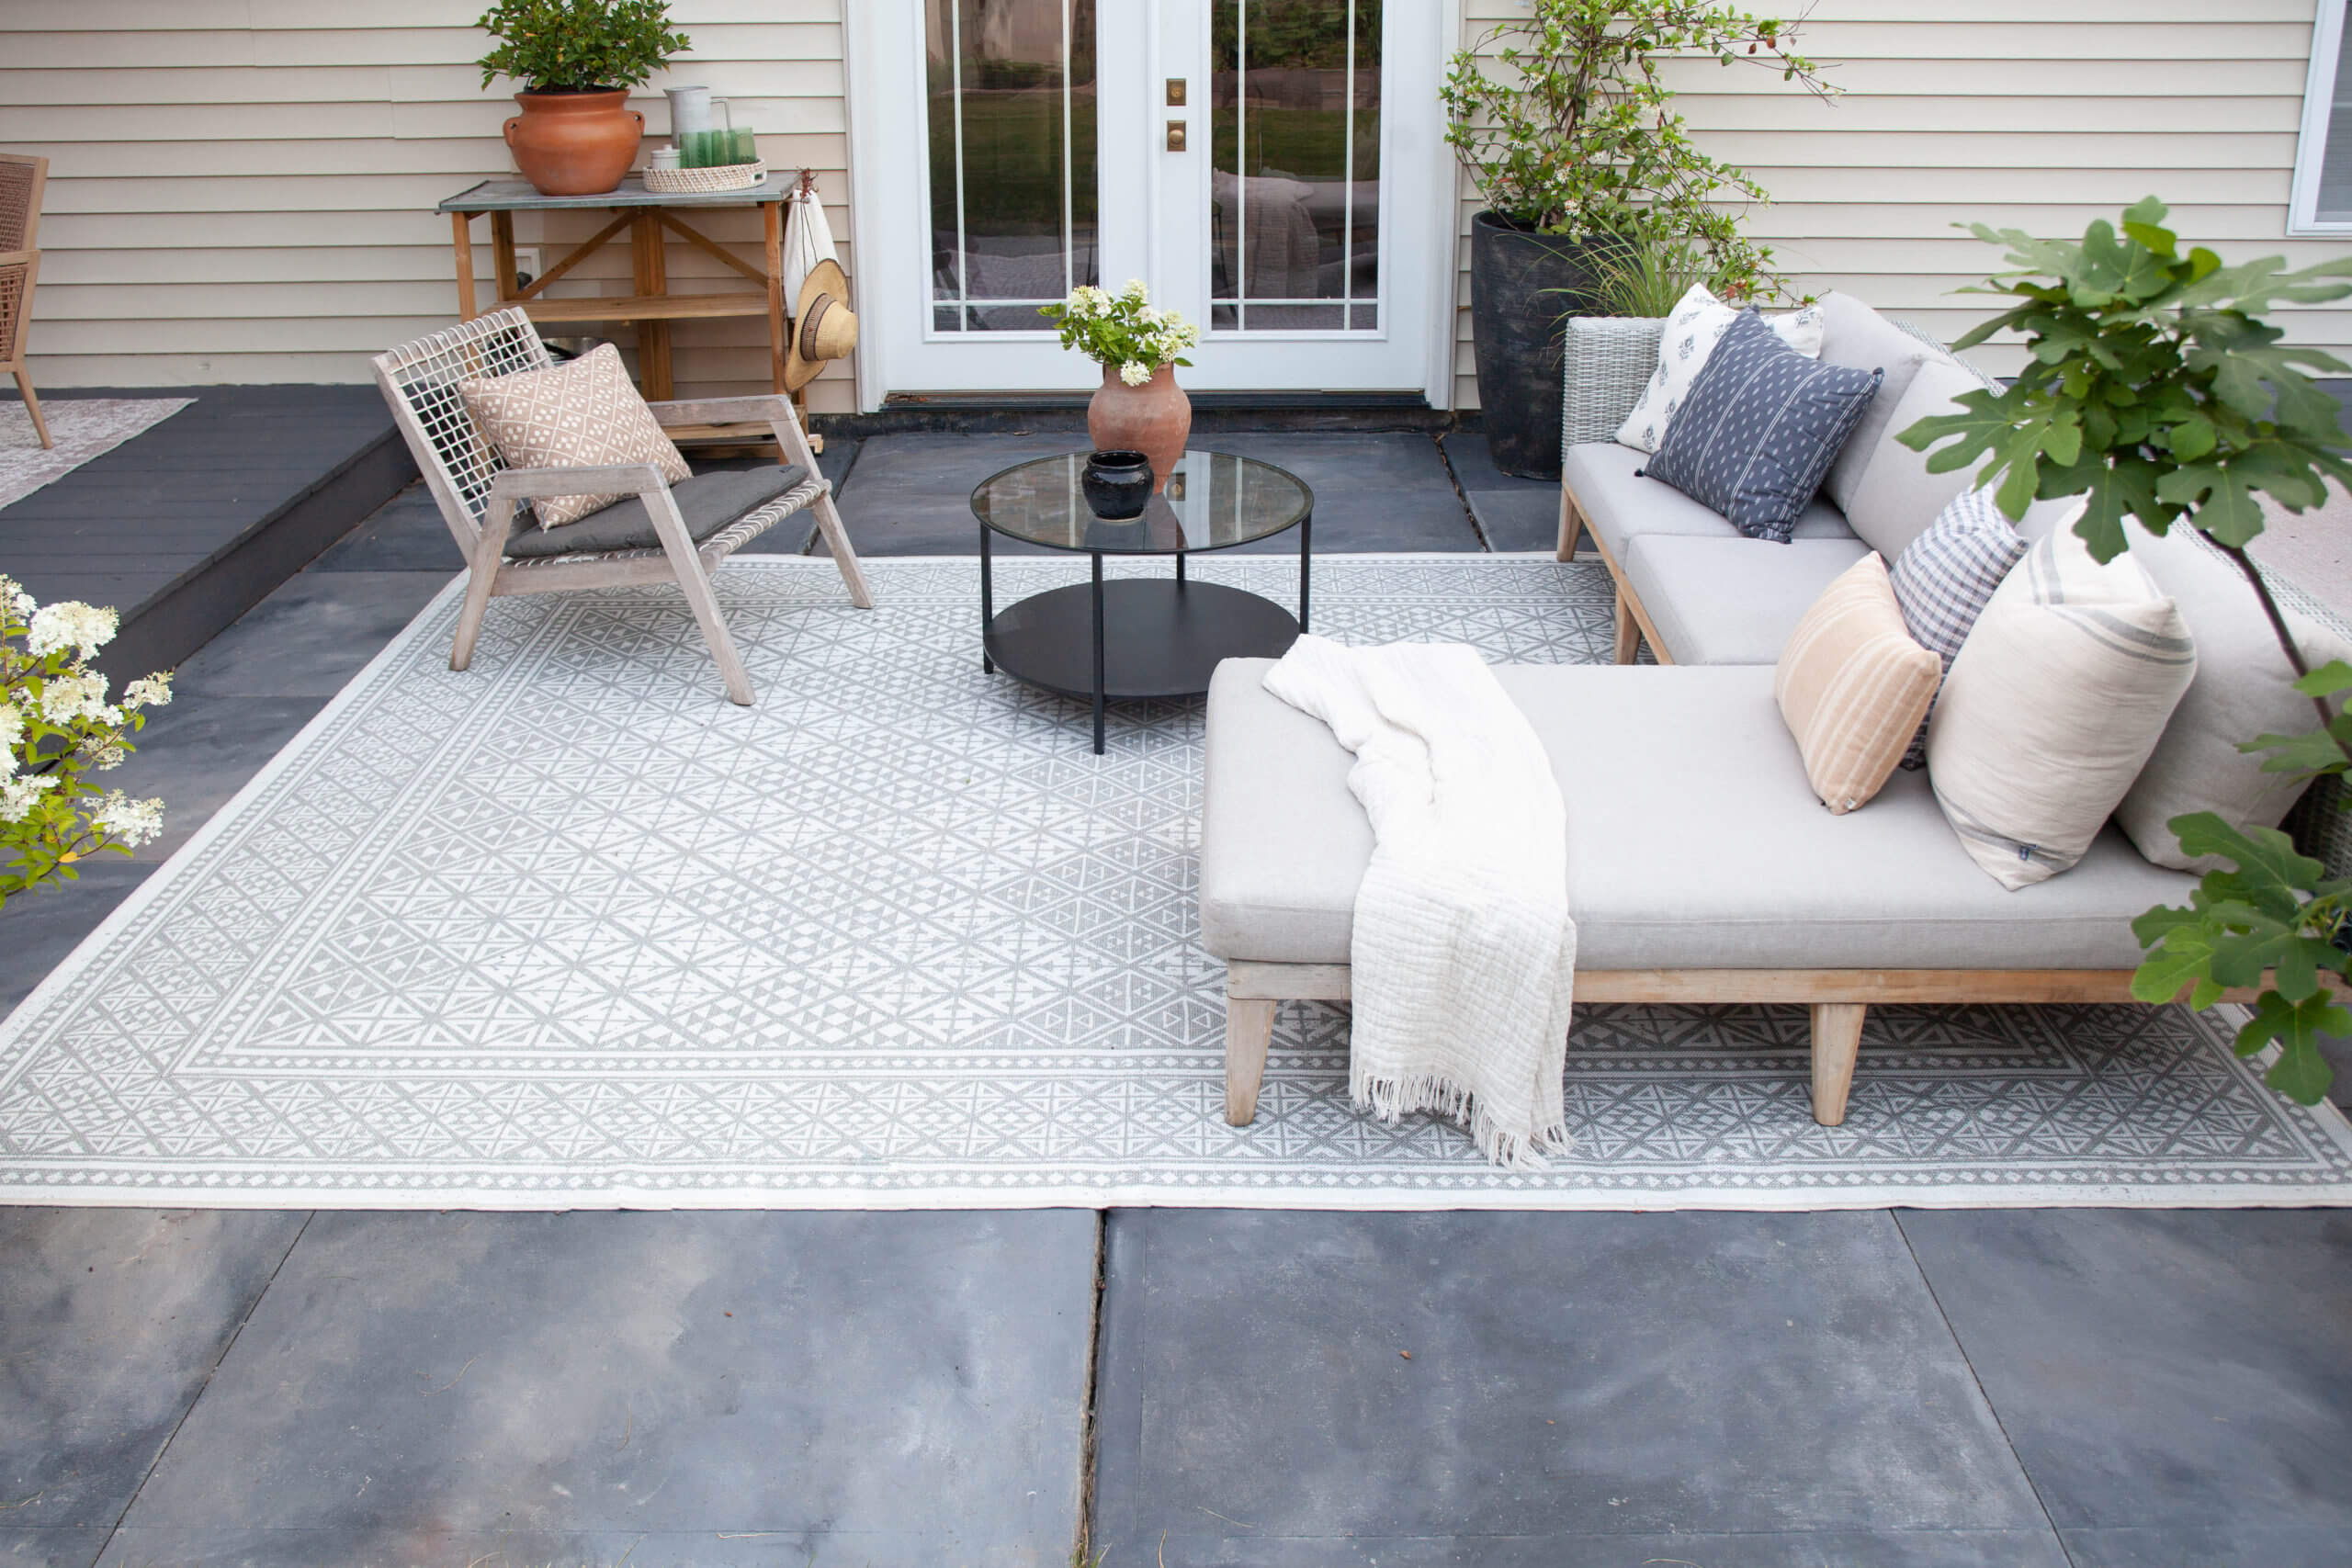
The photo above doesn’t look like much, but in the end, turned out great. Don’t give up it starts to look like this! Just keep working the paint and add more if you need to. This is how it turned out once I finished ↓.

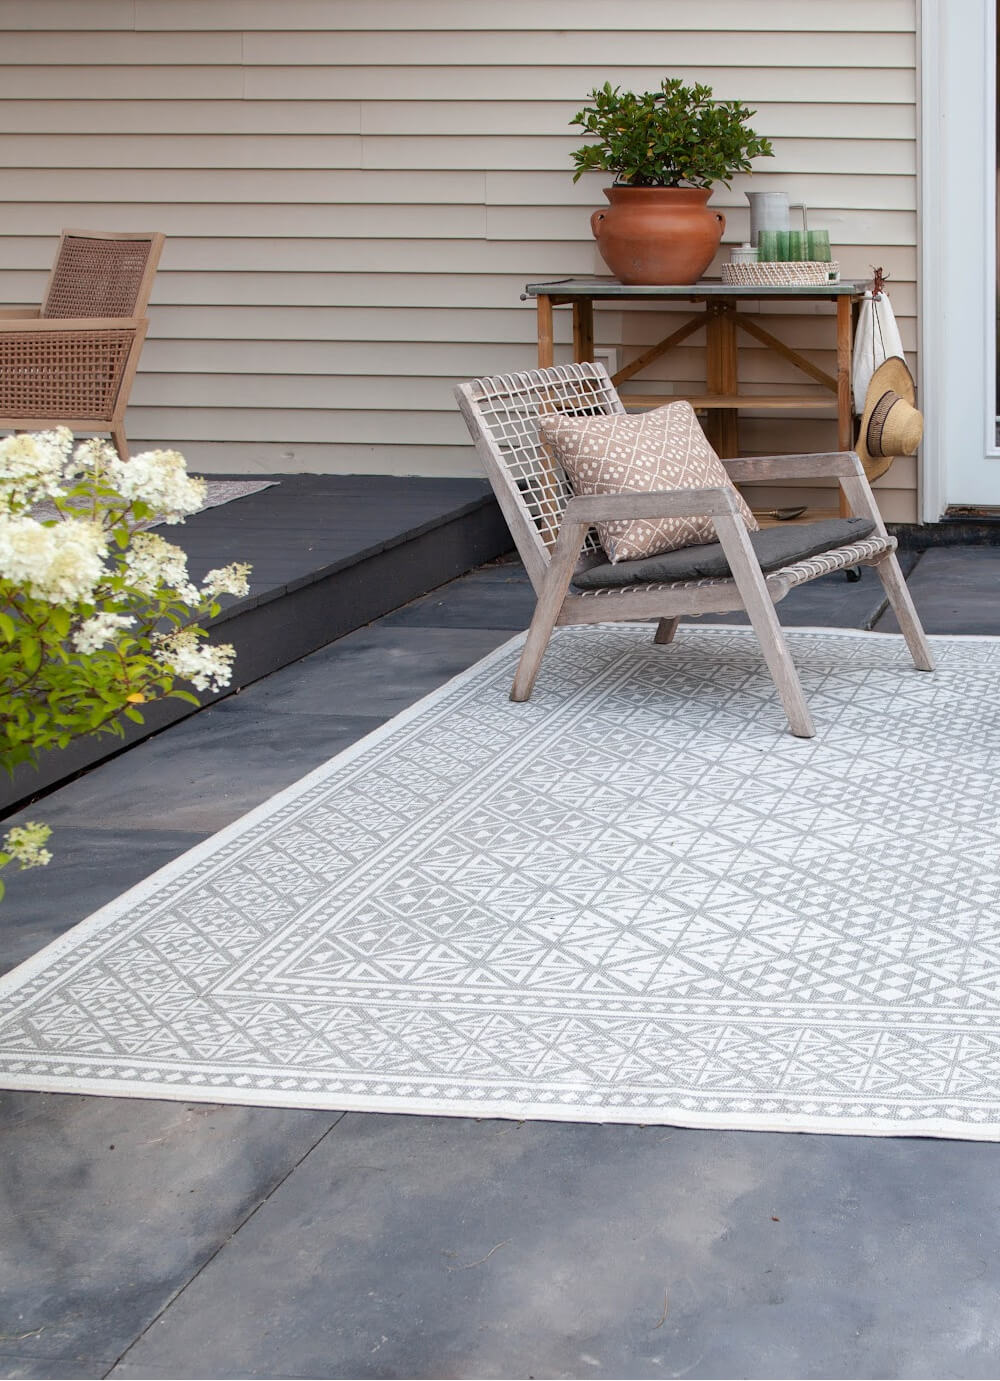
The paint has held up really well through 2 summers and 1 winter, but there are a few spots that are starting to fad. The best part about this technique is that it’s VERY easy to touch up. Next year I might try to add a sealer…I’ll let you know how that goes!

hi Angela! love what you did here! am looking at that beach sand sectional from Article… how did you manage to switch the sectional section to the other side? the company is telling me you can’t. Wanted to purchase it, but not sure if can’t switch the sides.
Also, can I find out where is the beautiful side chair from? thanks!
Your DIY concrete patio transformation is truly impressive! It’s amazing how a little creativity and some simple supplies can turn an ordinary concrete patio into a beautiful and unique space. Your step-by-step instructions make it seem quite doable for anyone looking to improve their outdoor area on a budget.
The before-and-after photos really speak volumes about the transformation. The painted concrete with its mix of dark and light colors does indeed give the patio a textured and natural look, making it so much more appealing than the plain gray surface. It’s evident that you put thought into the design to create movement and depth in the paint, and it paid off wonderfully.
The fact that the paint has held up well through two summers and a winter is impressive, and the ease of touch-ups is a huge plus. It’s always great to find a budget-friendly DIY project that not only looks great but also proves durable over time.
For those looking for more DIY inspiration and tips, I’d like to recommend visiting https://factsid.com/. This website offers a wealth of facts from various fields, from science to entertainment, which can spark your creativity and provide ideas for your next project. Exploring facts can be a great way to find inspiration for all kinds of endeavors, including home improvement projects like the one you’ve shared. Happy DIY-ing!
Great blog post! Appreciate your sharing.
If you are interested in the creation of the most powerful blog community, welcome here: https://medium.com/@scorecred10
Artlogo is always ready to help!
https://artlogoco.substack.com/p/creating-a-custom-signature
Thanks for sharing this content. If anyone wants to write peel method for writing assignment you can visit this website: https://www.ukassignmenthelp.uk/what-is-peel-method-and-how-to-use-it-in-writing
How to create a handwritten signature?
Paint stock is a beautiful piece of art and when the artist completes it so paint looks so good whenever viewers see it they want to buy it, as a student I am also creating some design posts which I passed on to my assignment file cover page which is Personal Statement Help Auckland look so good when I submitted it to my teacher and looks so different to the others.
Take expert help from the Best Assignment Help Website in Australia Management, Arts Humanities, Law, Tax, Accounts Finance, Nursing, Science, Engineering, IT and many more. Order now to avail best offers.
https://www.pinterest.co.uk/Capitalgaintaxaccountantnearme/