Crown molding used to scare me. I didn’t even want to attempt it, but one day I helped my dad hang it in our master bedroom. He showed me some tricks and it’s taken the fear out of the process. Honestly, it’s so much easier with two sets of hands, but not impossible to do by yourself! (Check out my post on How to Read a Tape Measure if you struggle with the “measure twice, cut one rule”! 😉 )
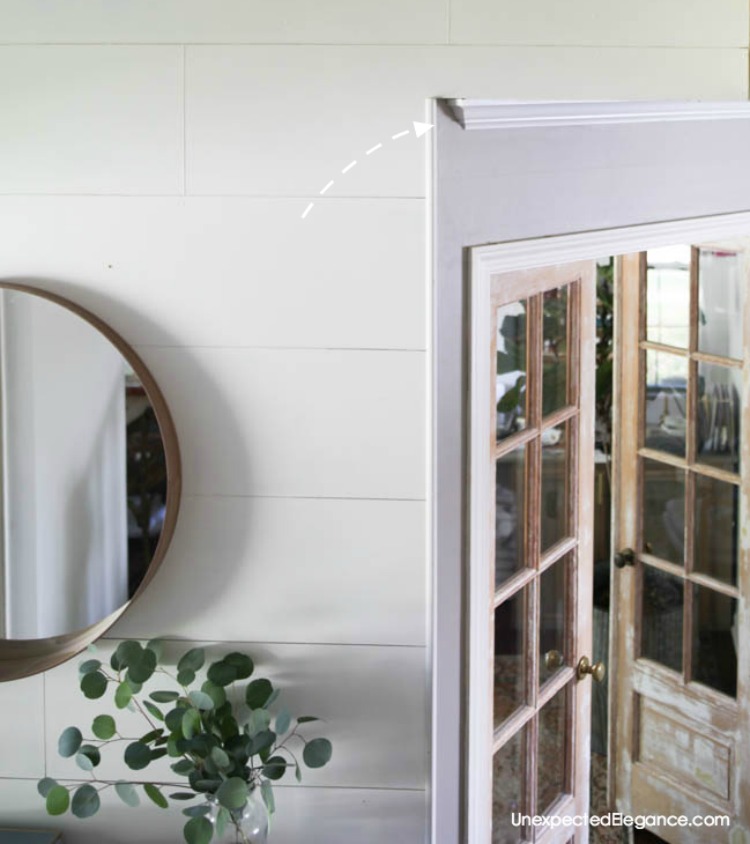
So, here’s the deal…When I got to the living room I was feeling more confident in my ability to hang crown molding, but I was worried about some of the angles. We have two areas that are “dead ends” and don’t butt up to another wall. I’m not a fan of decorative moldings, so my dad showed me how to make the molding end “pretty” and I thought it might help some of you too!
If this is your first time, be sure to check out my post about how to hang crown molding, coping and other beginners tips.
This is a picture of what I mean when I say it was a dead end.
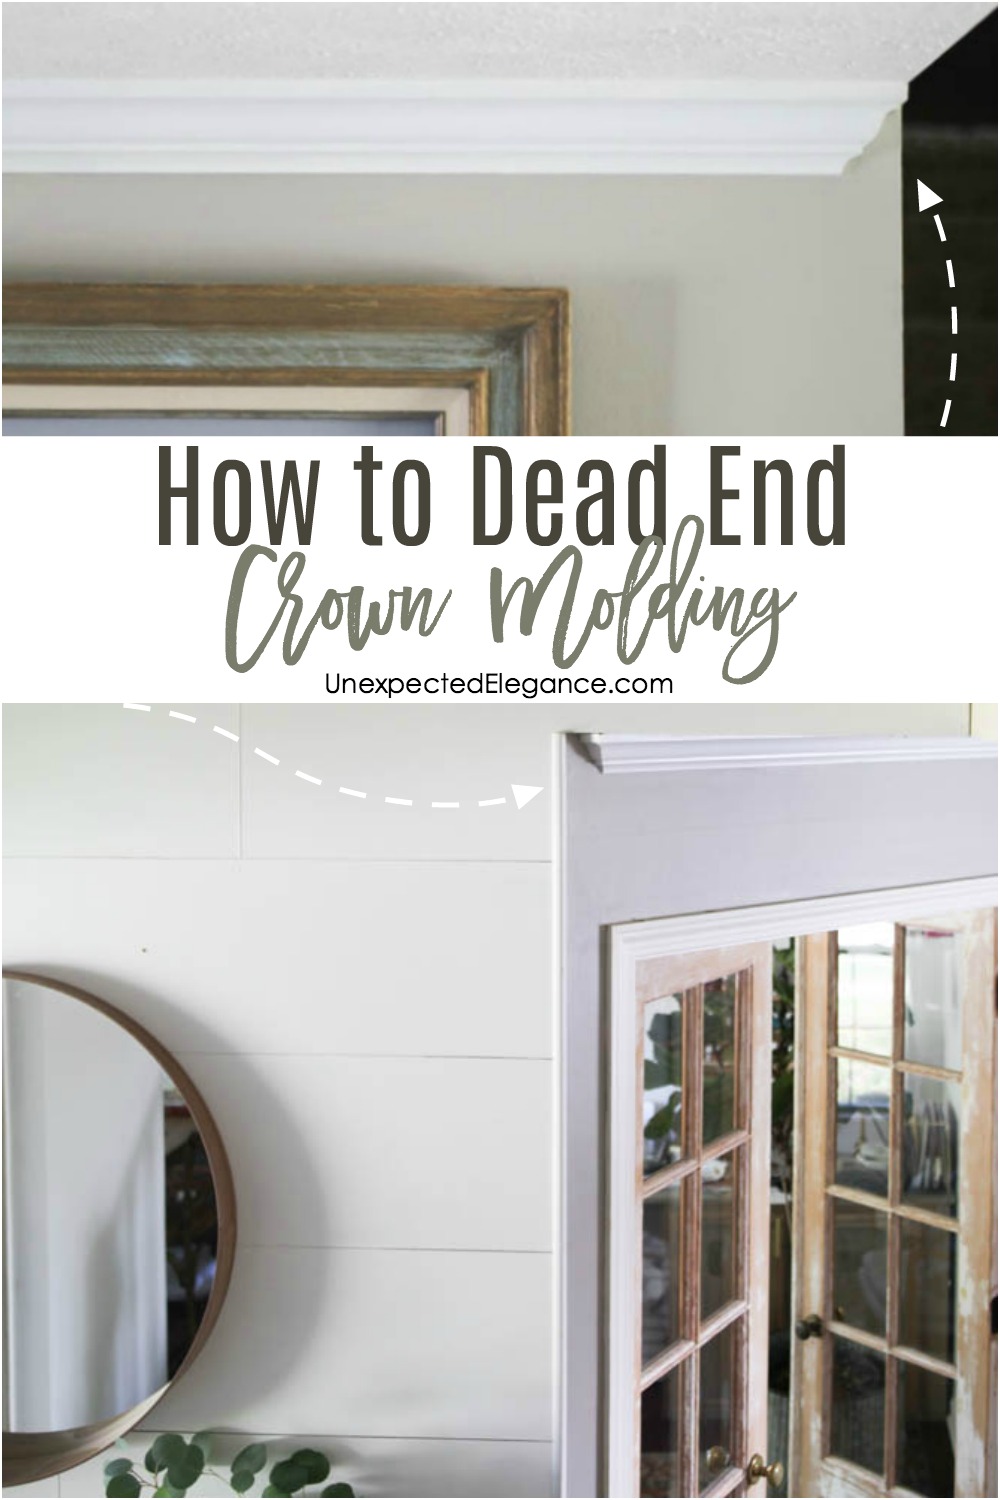
How to Dead End Crown Molding
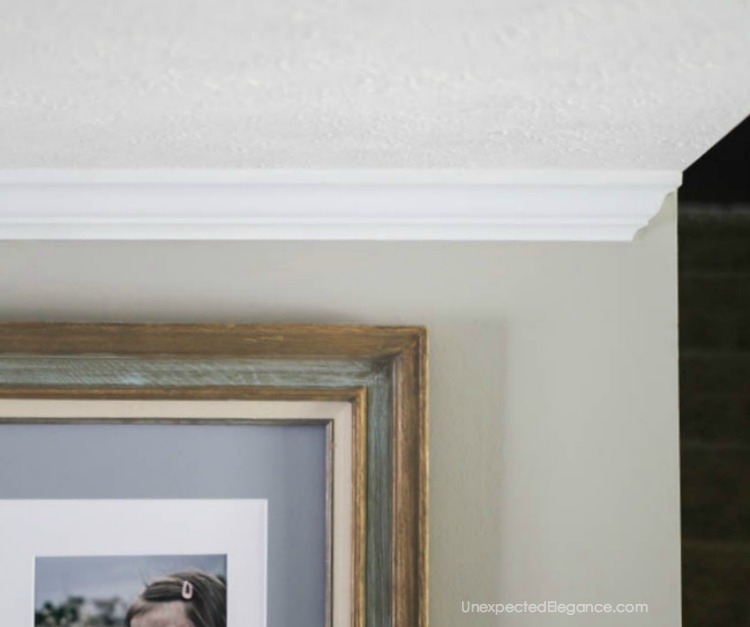
It’s actually VERY easy to make the molding look like the above picture, but you just need to know what you are doing. If you read my earlier post, you know that you determine what angle you need to cut by looking at the corner.
For the dead end you want an imaginary outside corner. Let’s use the above picture as an example. If we are looking at where the molding ends, it would be a RIGHT OUTSIDE corner. (Refer to the guide if you need to.)
This is how it will look up on the wall, with a big gap:

To create the piece that covers the hole, use a piece of scrap molding and make the opposite cut to form an outside corner. For the example that we were talking about, it would be a LEFT OUTSIDE cut because you have a right outside cut already hung.
When making this piece remember to use your fence. (Again, if you don’t know what I’m talking about refer to my original crown molding post.)

Once you have the proper cut, use the bottom of the cut as a guide. The below picture will help you understand what we are trying to achieve.

Use a straight edge to continue the line onto the front of the molding, like the picture below.

Then lay the molding flat and make a straight cut on the line.

The piece should fit together with the molding on the wall like the picture below. (Of course, this picture was taken before we hung the molding because it’s from the inside! 😉 )

We used wood glue on the small piece instead of a nail, because we were afraid of splitting the wood, but use your own judgement. (I’ve done it both ways and it’s worked fine.) The piece fit in snuggly and the glue was able to hold it.
That’s it! It really isn’t as hard as it might initially seem once you understand how the pieces work together.


This tutorial was just what I was looking for! This is my second time hanging crown molding (rocked it out in my bedroom a few months ago and it turned out great!) but my family room has a dead end wall. Your post helped me figure out how to end appropriately. Thanks for that! 🙂
Serena @ Thrift Diving
Serena,
I’m so glad it helped!! 🙂
Hi- Can you tell me where you got the crown molding in your tutorial. It matches mine exactly and we need to continue a few sections the previous owner left undone (!!). We have looked everywhere and your site has the same pattern. You can email me personally if easier. I appreciate your time. Love your blog!
We got ours at Lowe’s. It was a contractors bundle. Hope you are able to find it!!
Angela, you did a great job on your home’s crown molding. So much I can say for the hacks that did mine. I kept telling them that end end pieces seem a bit of but they refused to listen and now I have to do things on my own than pay them again to just make the same mistake. Thank you for sharing this tutorial, it’s really going to help with my DIY home improvement project. Wish me luck!
BestCyberStore.com is your destination for all the current product testimonials as well as roundups that are at the appropriate cost, on-trend, customer faves, and also obtaining Amazon.com product testers the most up to date information on places to sign up for discounted, how-tos and suggestions, reviewing rules and also more!
Back in the day when my husband was a carpenter and remodeled kitchens for a living, he’d call it a “return.”
good post.
Don’t ever take this down. I finished the living room and left an end “open” where it butted up to a wood beamed doorway. Ugly with the hole showing but that run was 32 feet down the hallway so taking all of that down to end that final piece was not happening.
Then I found this online and thought why not try? I did the kitchen with the same doorway but planning ahead made deadending the corner in there look sharp.
Without taking down the living room crown molding I deadended that corner, too. Glue, no nails. Thanks!!
Thanks so much for letting me know!!
Thanks so much looked at many sites and this was the one that saved the day thanks a lot !!
Hi,
I was looking for different ways to do a ‘dead end/return’ and happened across your post and pictures.
It was an excellent post. It reminded me that the simple way may be the best way.
Thanks, I’ll look forward to checking out more of your posts!
Mark
Very informative blog post I have read today! Thanks for sharing.
How did you measure the length of the end cap?
Snapptube App is 100% SAFE, with its security verified by multiple virus & malware detection engines. You can also scan every update through these platforms, and enjoy Snap Tube with no worry! Site;https://snaptubes.co/
MyAsianTV is the best platform offering you a good selection of dramas and kshow. Korean Chinese and Our consistently high-quality videos will not let you
TV channels, movies, and shows. Enjoy seamless streaming and diverse entertainment effortlessly. HDStreamzApp promises a convenient and enjoyable viewing experience for users.
Hi Un jsh
Thanks its a great blog about how to dead end crown molding and keep sharing your thoughts!
Thanks for the feedback! It’s great to hear that you enjoyed the blog on dead-ending crown molding. I’m glad you found the tips useful. Feel free to share any more thoughts or questions you have—I’m here to help.
Unlock the most demanding cooking games on the internet available right now for your Android Mobile, iOS, Mac, and PC, respectively for free. Also, You can play it online.
Now, Download the latest version of the Charlie The Steak APK For Android Mobile, and begin your journey to become a steak master now.
Thanks its a great blog about how to dead end crown molding and keep sharing your thoughts!
Thanks its a great blog about how to dead end crown molding and keep sharing your thoughts!
wow its a great blog about how to dead end crown molding and keep sharing your thoughts.
waw its a great blog about how to dead end crown molding and keep sharing your thoughts.
Sapanca bungalov otellerinde doğa ile iç içe huzurlu bir tatil fırsatı! En uygun fiyatlarla hemen yerinizi ayırtın.
Great guide on how to dead-end crown molding! The step-by-step instructions really make it clear and easy to follow, even for a DIY novice.
Now I feel like I can tackle this project just like how I master flipping steaks in Charlie the Steak game — all about precision and timing!
Thanks for the tips.
wow its a great blog about how to dead end crown molding and keep sharing your thoughts.
Watch Anime Online Free. aniwatch is a popular free anime streaming website that allows users to watch English Subbed and Dubbed anime online.
If you are looking for the best best-ever FF mods, then You are at the right place. Because Now, You can download the most trending mods of the year called as Unites Mods Free Fire Max for free.
The Kling is an AI Video Generator Tool that is trained on a KeLing large model to create stunning 1080p Full HD Videos just from your text prompts. Download The Kling AI APK with all premium features unlocked to try it now on your Android, iOS, and Windows PC devices. After that, Generate realistic videos from your imagination.
Offrir une rampe de lancement aux commerçants internationaux https://instantfundingnow.com/fr/
Offrir une rampe de lancement aux commerçants internationaux https://instantfundingnow.com/fr/ fdvx dfvd
I used to dread dealing with crown molding endings, always leaving gaps. These tips really helped me finally get it right. Thankyou for sharing this tutorial!!
Daman Game is an online real-cash gaming platform where users can predict color outcomes—such as Red, Green, or Violet—and win money based on their guesses.
Thank you for such an informative article!Struggling to find today’s Contexto answer? You’re in luck—this guide reveals the Contexto answer for today, so you don’t have to lose your daily streak over a challenging puzzle.