The easiest and cheapest to way to add a high end looking wall texture for about $50!
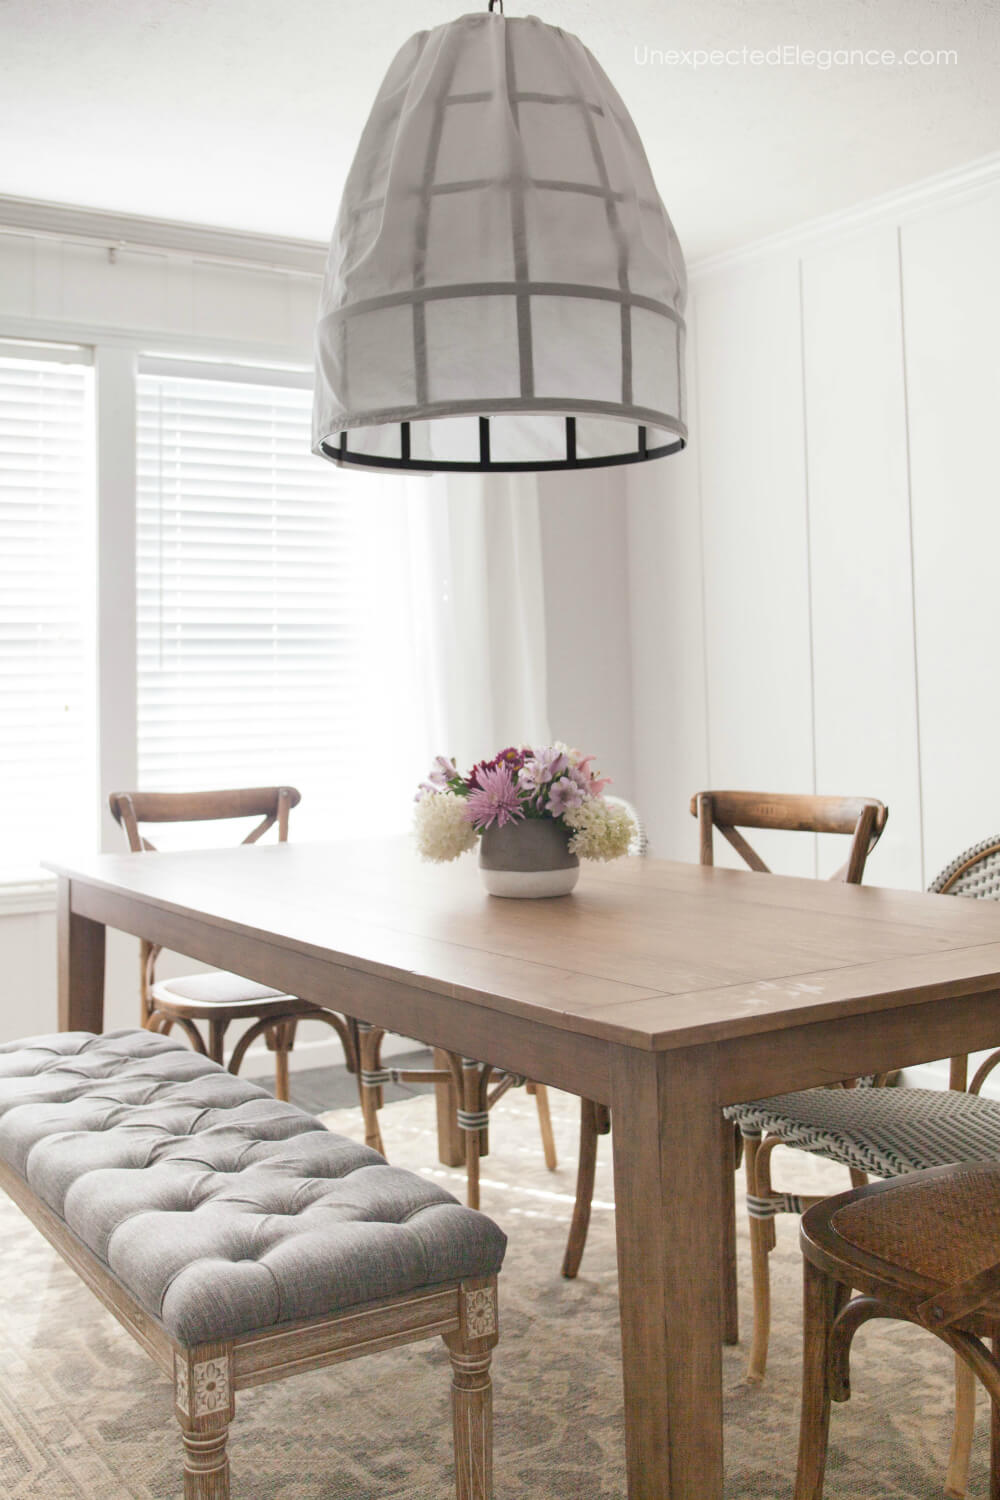
My dining room has seen a lot of change in the 10 years we have lived in our house! However, the real transformation happened two years ago.
When we moved in the walls were a tan and dark brown, with an oddly placed chair rail. I didn’t want to paint so I decided to add a textured wallpaper to the lower half of the room….I honestly don’t know what I was thinking, but I’ll blame it on the sleep deprivation of having an infant and toddler!
Here’s what the room looked like a few years after we moved in…
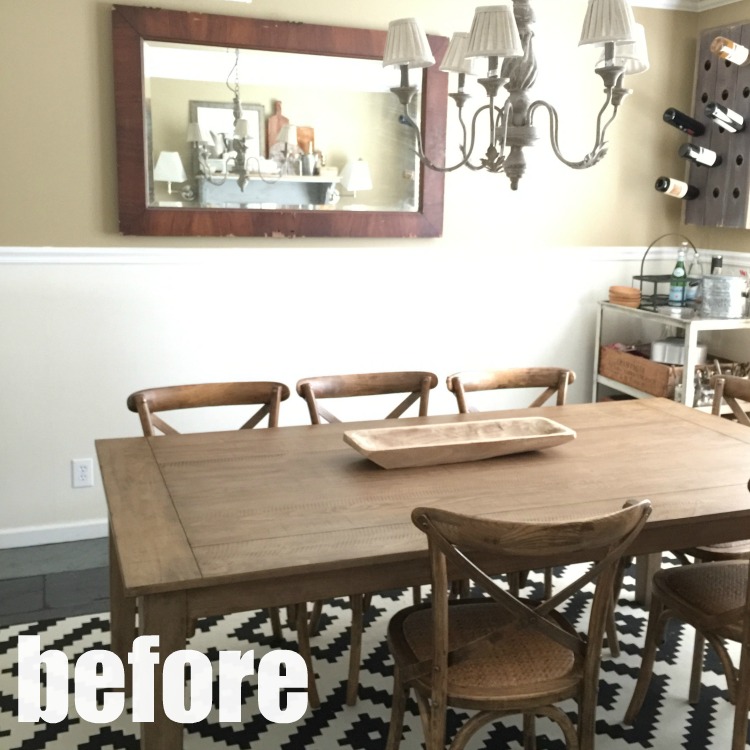
I knew I wanted to take down all the molding and add a light color to the walls but I thought they needed some texture.
I came up with a super affordable way to add some interest and stay within a small budget…I wanted to spend the money on other things for the room!
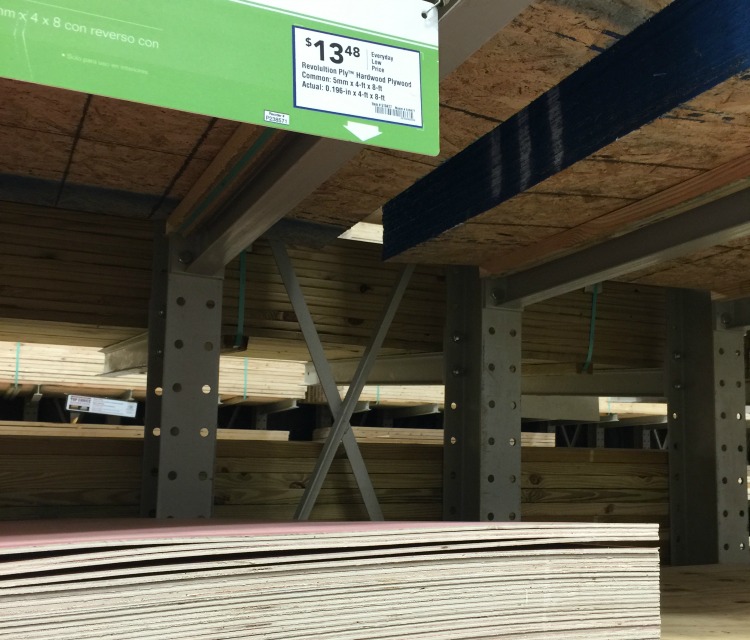
I bought three 4′ x 8′ sheets of 5mm thick plywood. I got pieces that were already primed, to save some time…the difference in price is not worth the hassle!
Then I had them cut into 3″ strips at the hardware store.
Word of caution: Make sure to ask whoever is cutting the pieces to PLEASE take their time and make sure they are straight. I had two different people cut mine and there was a huge difference. One set was splintered and it took me forever to sand down.
The reason I chose this wood, was not only for the price point but so I wouldn’t have to remove the baseboards.
I made a template for the spacing (I was really technical and used a paint stick to determine the length 😉) and cut enough pieces for one wall.
Then I measured the height of the wall from the top of the baseboards to the ceiling and cut all my longer pieces.
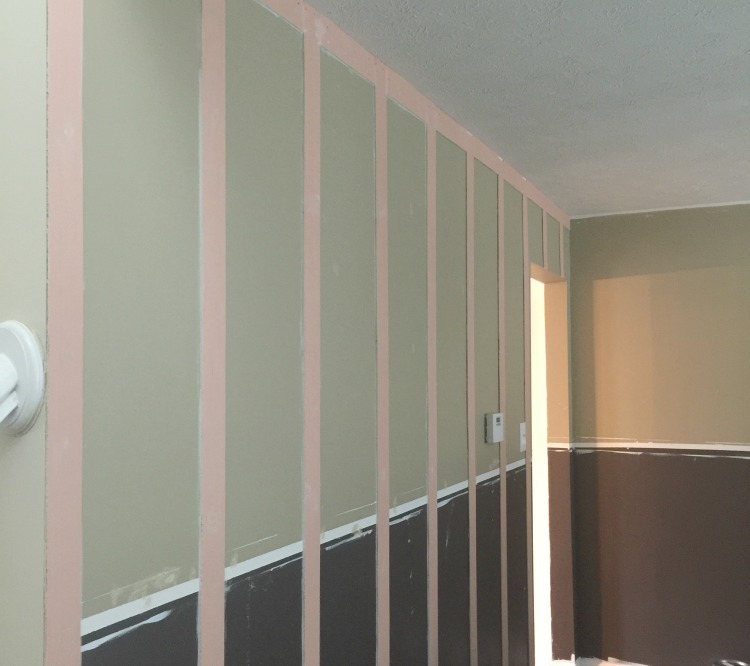
I used a nail gun and didn’t want to worry about hitting a stud every time, so I made sure all the pieces were attached close to the ceiling. If you are doing this project. there should be a stud running along the ceiling in your home too.
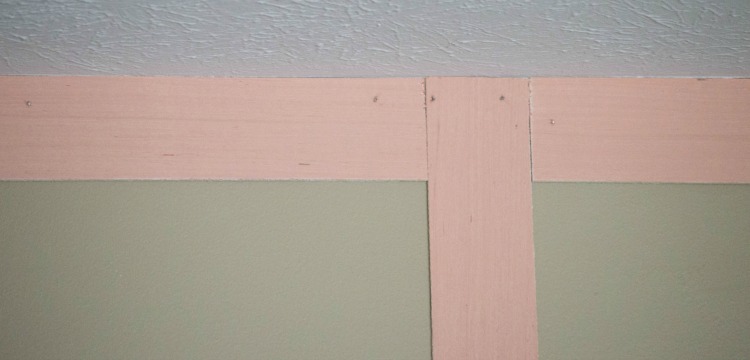
I alternated between horizontal and vertical pieces.
Unfortunately, my walls aren’t the same height throughout, so I just made sure that if a piece was a little too short that it was sitting on the baseboard.
The corners can be tricky too, so it’s a personal preference of how you want to do them. I was going to paint everything the same color, so I wasn’t too concerned about the transition.
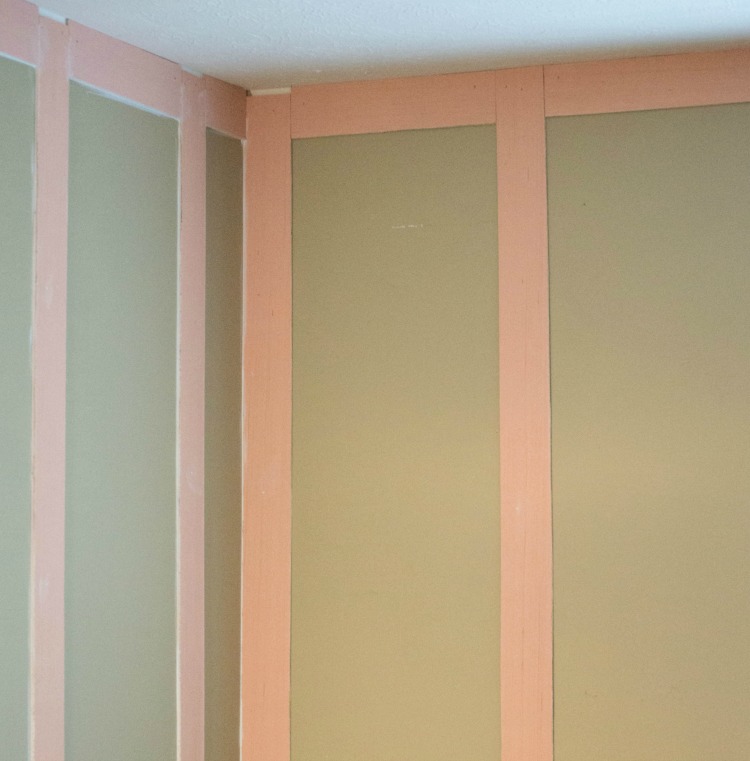
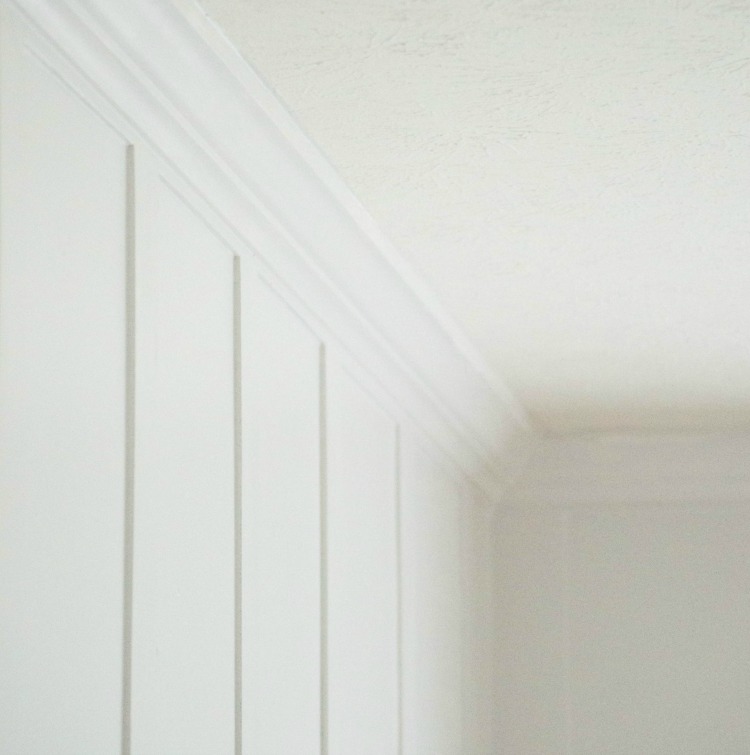
Once I had all the wood up on the walls, I installed crown molding at the ceiling to hide all the imperfections and gaps at the top.
I used a paintable caulk around all the pieces to fill in any holes or gaps and painted everything the same color.
I decided to use Pittsburgh Paints & Stains® Paramount™ in Arctic Cotton. This paint is absolutely amazing!!
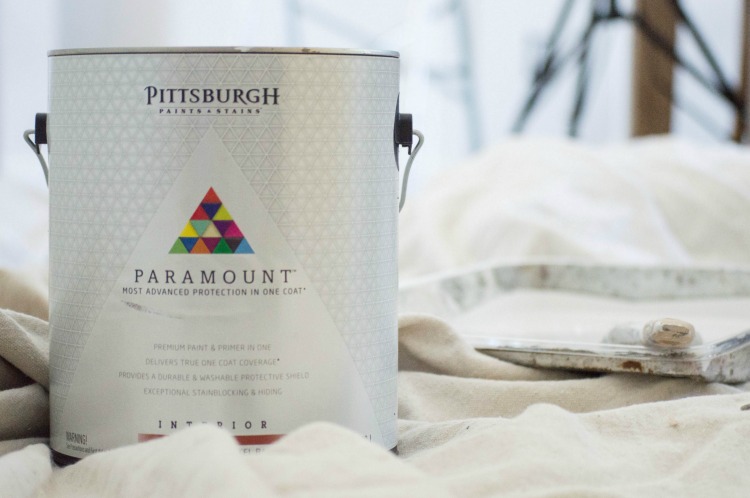
Here’s a progress shot of the paint going on the walls…
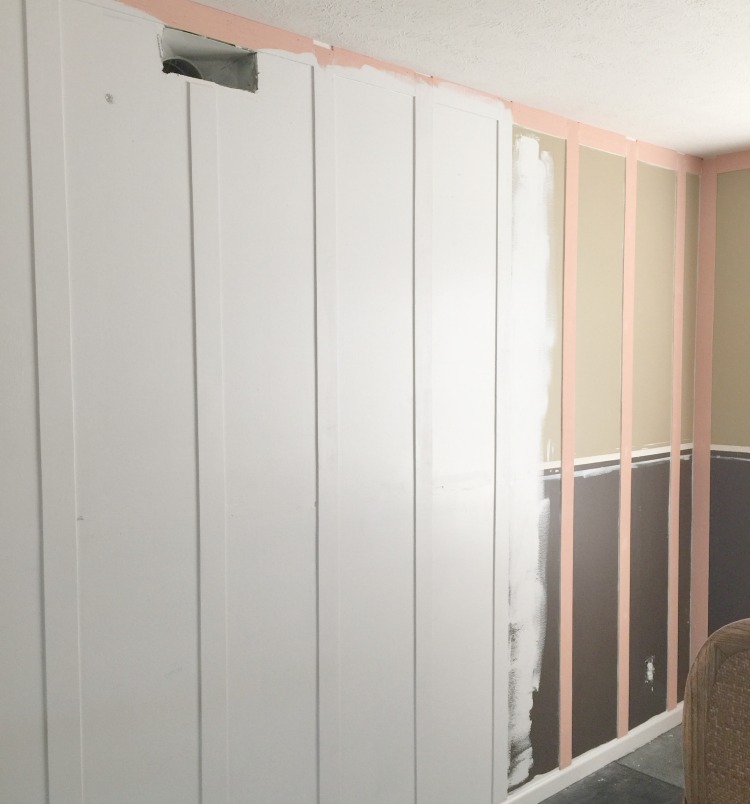
Paramount is a one coat paint and, I’ll be honest, I was a little skeptical about it covering that dark brown with just one coat…but as you can see from the photo below, it does! I had to do some touch-ups afterward, but that was only because the roller/operator missed some areas. 

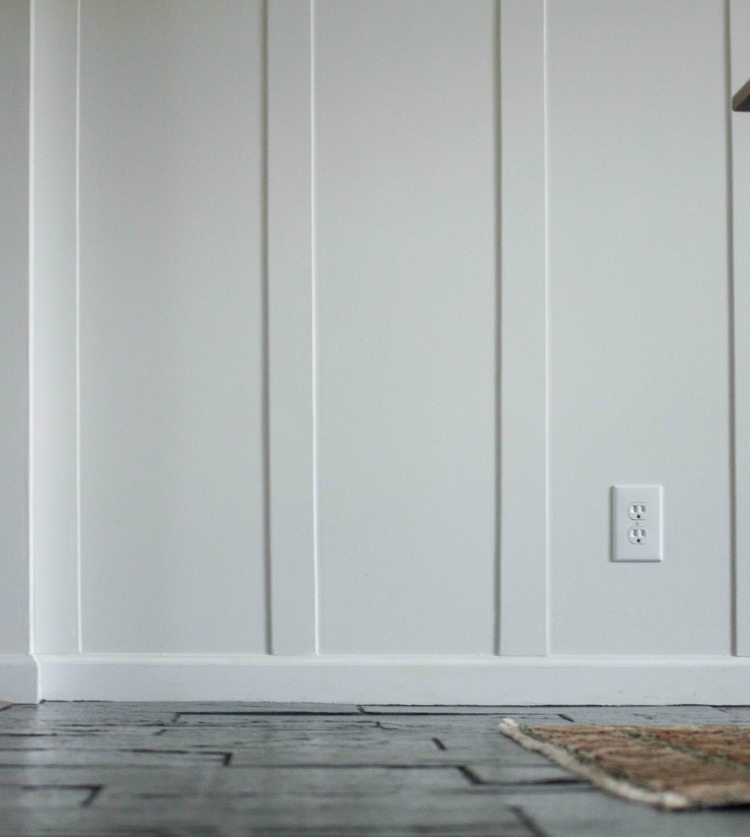
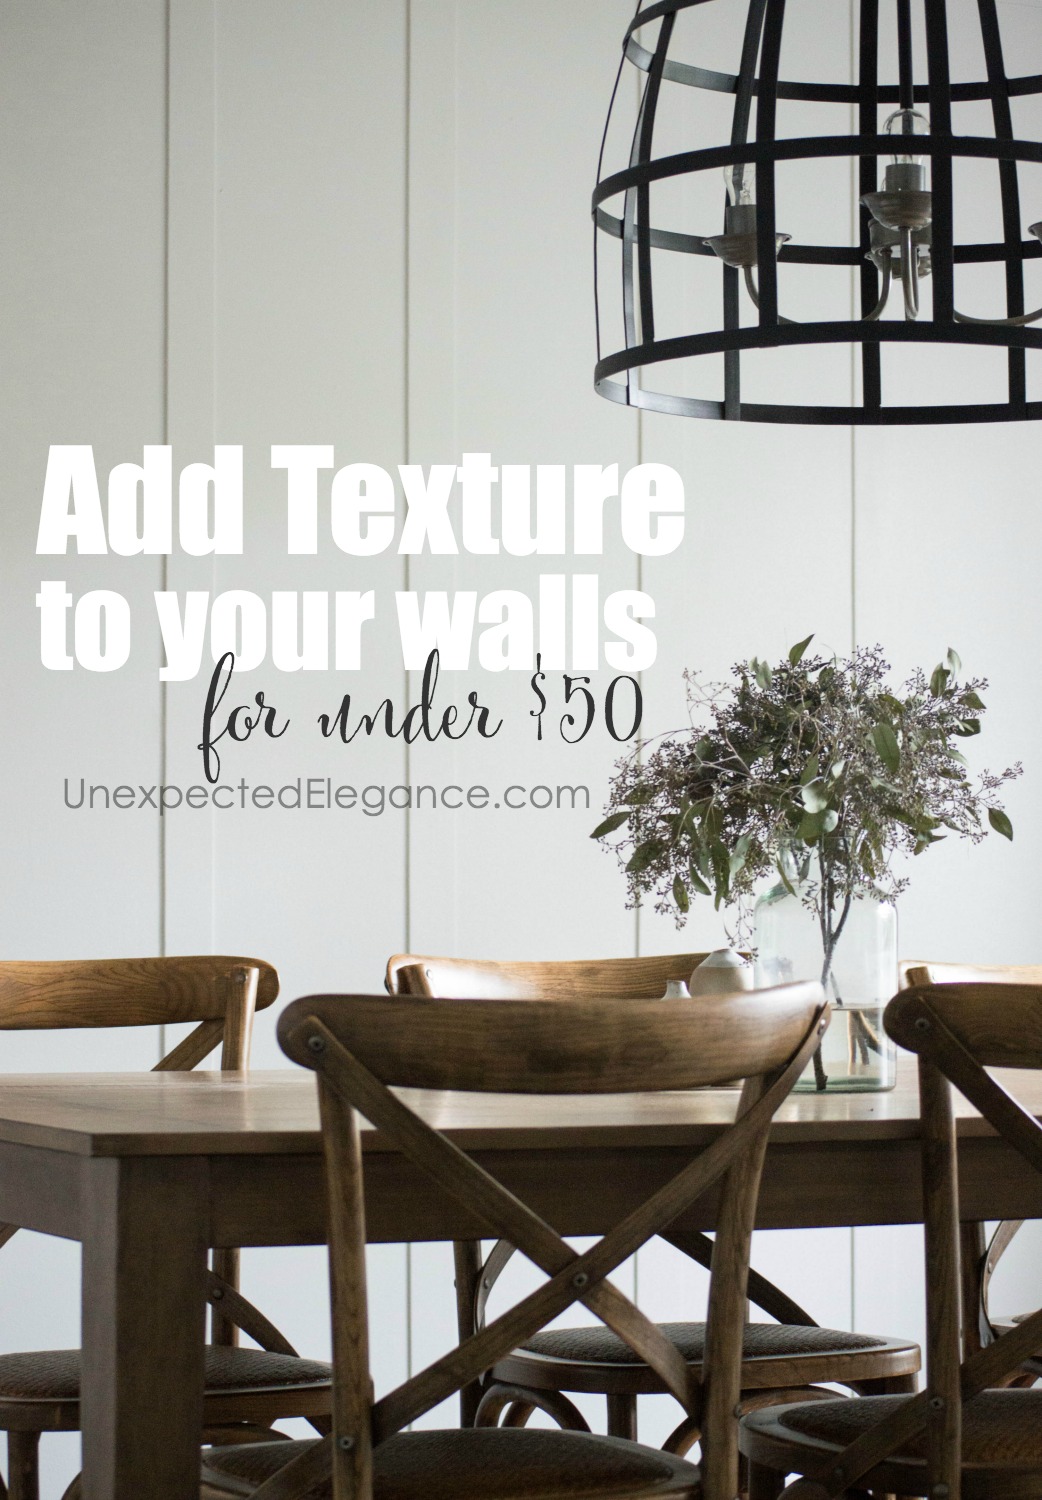
So, here’s the finished walls!! They turned out even better than I had hoped. They give just the right amount of texture and create interest.
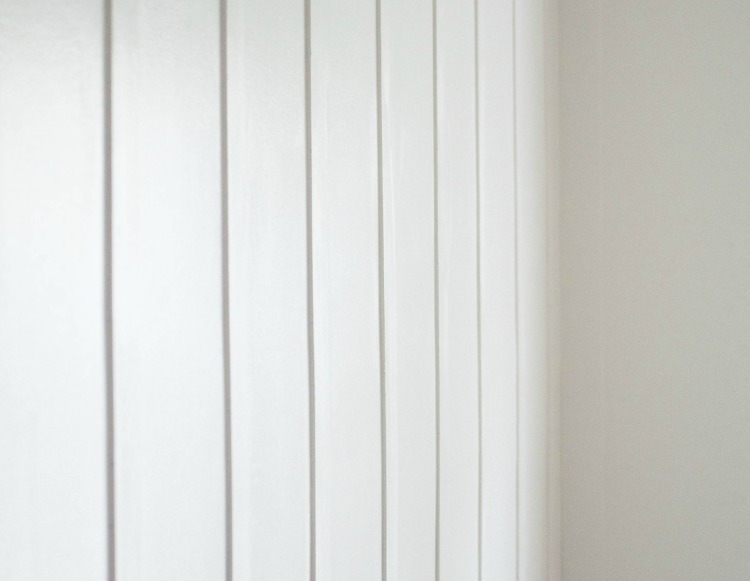
Here you can see how the crown molding finishes it off. You could totally skip the crown, but you will need to make sure that your vertical pieces go all the way to ceiling every time.
Be sure to check out my Dining Room Update here! Also, you can find a similar Hall Makeover here.
For more ways to add texture to your walls, check out this post: 5 Ways to Add Texture to Your Walls.


What an amazing idea! I’ve always wanted elegant walls like these but I could never afford them. I’m definitely doing this on our master bedroom. Thank you so much for sharing it!
Dorothy, I’ so glad I could help! I’d love to see some photos after you’re done!
I am interested in doing a make over of my bedroom. Do you have ideas or pictures that could help me. My living room is French country but I would like my bedroom to be more elegant.
I like this idea with a chair rail, using molding at the top and bottom of it and crown molding on top. Use a glass bowl and cut the middle out for the light fixture. Use matching bowls for the night lamps. Hang crystals from small hole drilled around the edges.
Patricia Garris could you provide a picture…I’m interested but confused..lol
Such a smart and budget-friendly idea—the textured wall looks stylish and high-end, almost as satisfying as discovering a perfect combo in Infinite Craft.
If you’re layering in those cozy, intentional details to finish the space (think a pendant that catches the light and adds a quiet, elegant focal point), Carrera y Carrera’s pendant collection has some beautiful options—handcrafted 18K gold designs since 1885 that feel like little pieces of art themselves. Check them out at https://carreraycarrera.com/jewelry/pendants.html.
It sounds like quite the creative challenge, especially juggling a toddler and an infant at the same time! While reading about your textured wallpaper experiment, I took a short break and checked out chicken road since I’d heard they offer fun bonuses for Spanish players. My first few rounds didn’t go well, but I tried again and landed a nice win. It was a fun little pause before getting back to home decor projects.
nice
This wall texture idea looks modern and budget-friendly. Pixellab 2026 Free helps users create stylish home design concepts easily.
This is such a clever idea! Fifty dollars for a whole wall treatment is incredible. I love how you used primed plywood strips instead of individual shiplap boards which would have cost way more. The tip about having the hardware store cut them carefully is so important. Did you find that the caulk filled in the gaps well enough that you could not see any seams after painting? I have been wanting to do something similar in my entryway and this gives me the confidence to try it.
What a creative and affordable idea! I love how you transformed the dining room with just plywood strips and some paint. It reminds me of when I was planning my garden layout and found a great calculator tool that helped me figure out exactly how much material I needed. Sometimes the simplest solutions are the best ones. The crown molding really ties everything together beautifully!
What an incredible transformation for under fifty dollars! Adding wall texture completely changes the feel of a room without spending a fortune. I have been looking for budget-friendly ways to update my living room and this is exactly the kind of project I was hoping to find. The before and after difference is really striking. You did a fantastic job explaining each step too. Definitely saving this for my next weekend project!
This is such a clever idea! I love how you used inexpensive plywood strips to create that high-end wall texture. The spacing trick with the paint stick is genius. We did something similar in our office with vertical shiplap and it completely transformed the space. Your tip about getting pre-primed pieces is so practical – saving time is worth the small extra cost. Great DIY inspiration!
This is such a clever idea! I have been wanting to add some texture to my living room walls but most options were way too expensive. Using primed plywood strips is brilliant — affordable and the result looks amazing. I especially love the tip about getting them cut at the hardware store to save time. Did you find that the caulk filled the gaps well enough, or did you need to do any additional sanding after? Definitely bookmarking this for our next weekend project!