 For the Pinterest challenge I had shown you my laundry room door that I made into a split door. And today, I’m going to show you how we made it. My parents were visiting, so my Dad did most of the construction for this project.
Here’s our dutch door tutorial using a hollow core door!
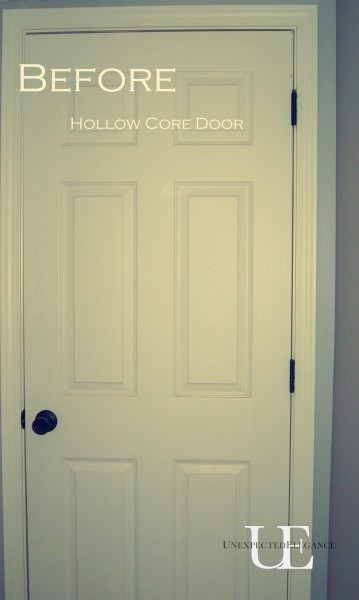
We started with a the standard, builder, hollow core door.
 We decided where we wanted to cut the door (slightly above the handle) and made sure that after we gave the allowance for the ledge, we wouldn’t cut into the door panels. This cut will be a matter of preference, but make sure you account for the extra ledge measurement.
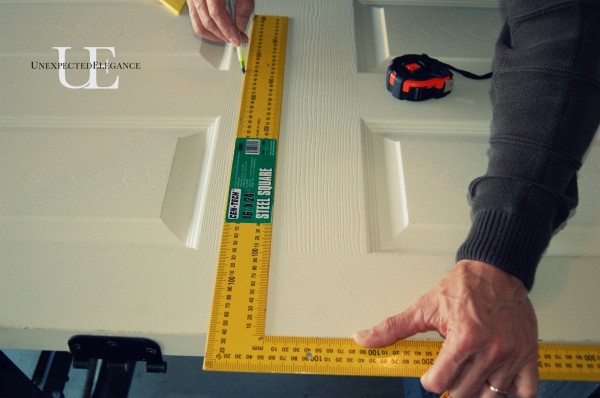 Tip: To make a straight cut without a table saw, use a straight board as a guide.
We used a 1×2″ popular board for the ledge, so we marked that with an 1/8″ clearance above the first cut.
Tip: A 1×2 is actually 3/4″ x 1 1/2″. Anna White has a great resource to help you with these measurements here.
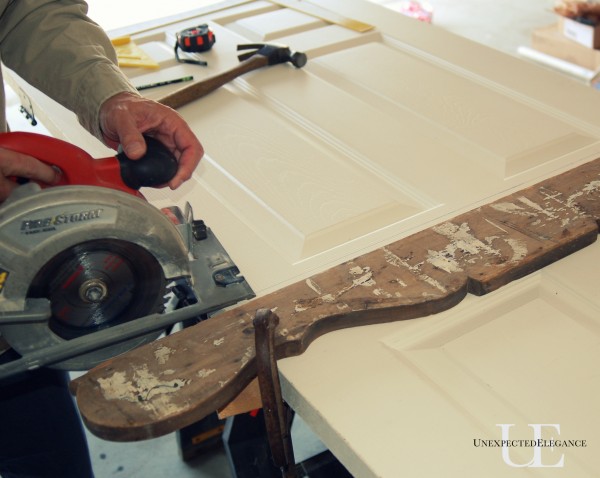 It’s also helpful to keep the door supported with some scrap wood as you cut. It will keep the hollow core door from splintering if it happens to fall the slightest. Just cut a little then move the boards as you go OR set your blade to where it will cut through the door but not completely through the supports.
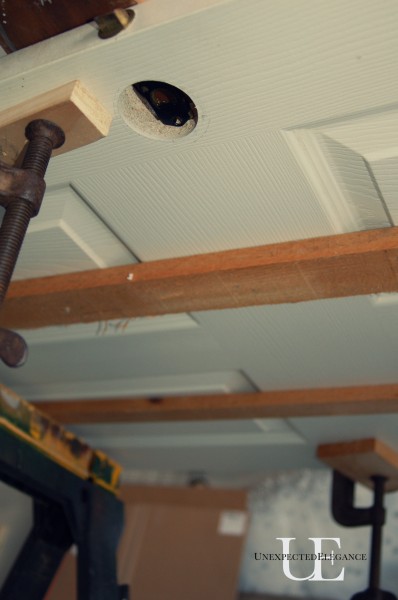 To make the ledge we cut down a 2×2 piece of scrap to fit into the center of the door and screwed it to the underside of the 1×2. This fits snugly into the door without having to secure it.
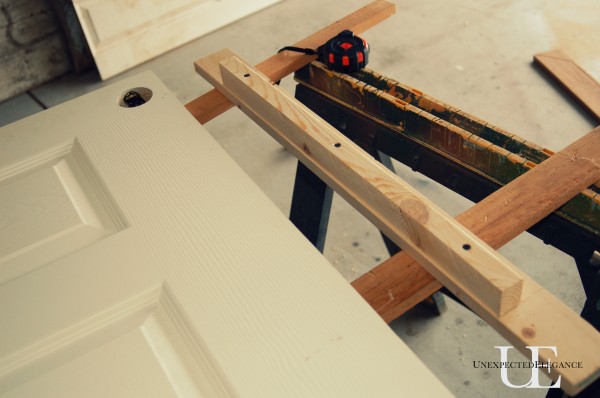
We needed to add one extra hinge on the bottom portion of the door. If you have a router, you can purchase a template with a router bit for around $25, which would make this super easy. I on the other hand, have a router but didn’t want to spend $25 on a tool I would probably never use again… so I found a punch template in the hardware section of the home improvement store, next to the hinges. (for about $6)
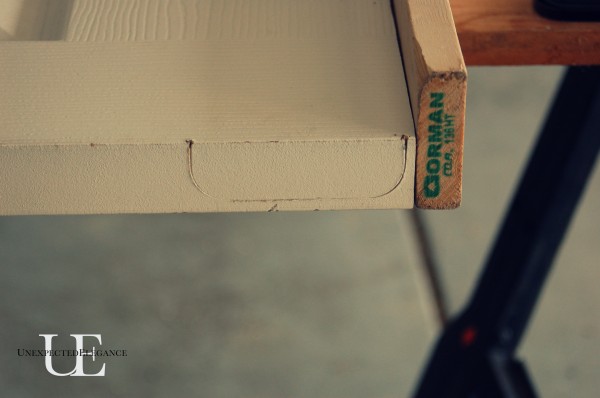
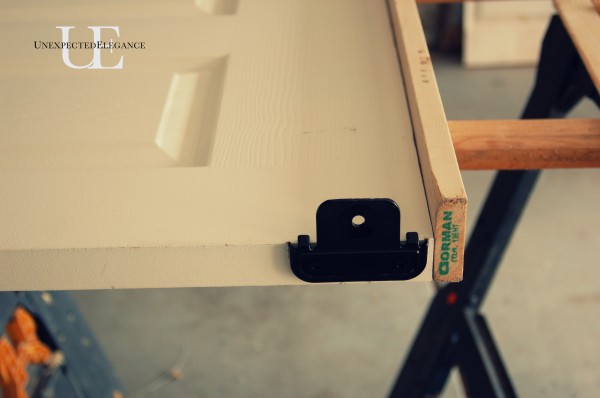 You just hit it with a hammer and it leaves a mark, like the one below. Then you can chisel it out. The “wood” is so soft, you can even use a flat head screwdriver to chisel it out.
 To hang it, attach the hinge to the top of the door. Put the hinge and pin in place on the bottom of the door (this will line it up for you) and then attach the top hinge to the door frame using wood screws.
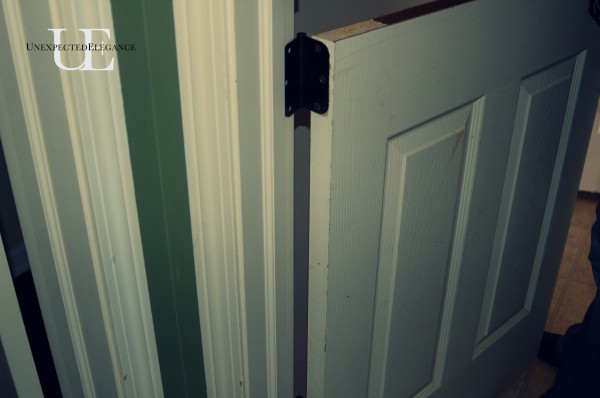 We added a little piece of trim under the ledge, but you don’t have to.
Lastly, we added a locking mechanism on the back to keep the top and bottom together when I want the door completely closed.
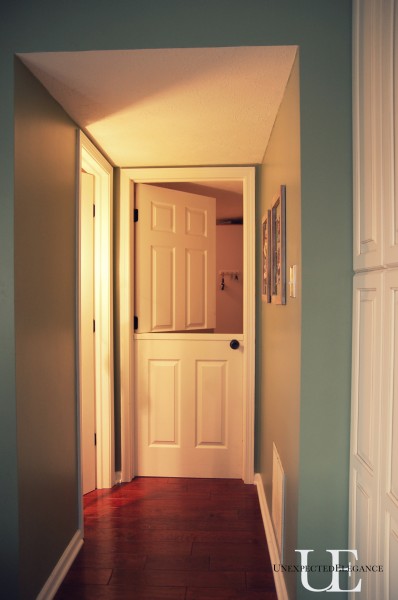 Now I just need to be patient! We plan on getting a new washer and dryer some time this year, then the whole (meaning very small) laundry room will finish getting it’s makeover!
~Angela
*************************************************************************
UPDATE:
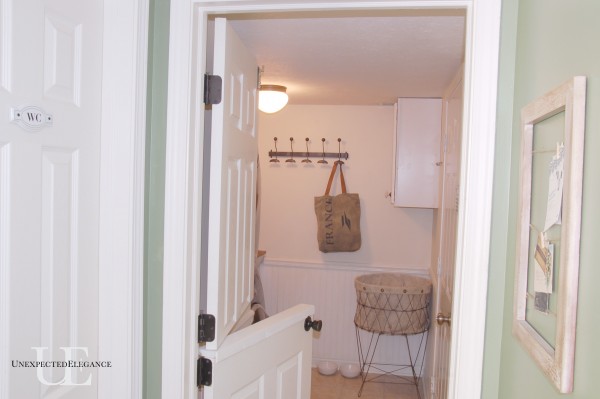
Here’s the finished laundry room!!! To see the whole thing, click here.
For more budget friendly projects, check out these post (click on image):


LOVE your split door. My in-laws had one years ago and I always thought it was so cool.
Great job!
That is so awesome Angela! You guys did a fantastic job on it and I love it! 🙂
Vanessa
Thanks, Vanessa. I love split doors and really wanted to get one for the front door…hubs vetoed that one!
I’m thinking it would be nice for a front door, especially as we live in a small bungalow. Now to talk my husband into this idea. We just moved in after remodeling it for over 2 years 🙂
Great tutorial! I want a Dutch Door for keeping our dogs in the bedroom when we have friends over who don’t want a dachshund in their lap! I was afraid I’d need to replace our hollow core door with a solid wood door; I’m so happy to see that’s not necessary!
That’s so cool!
I LOVE this project! I saw it over on Hometalk and we are going to work on it this weekend!
Thank you so much for inspiring me!
blessings,
karianne
Thank you for this. I have been looking for a way to build a half door because I don’t want to pay $400 in the store.
Great! Hope it works out fairly easily! Let me know how it comes out!
~Angela
Beautiful! I did not realize this could be done, functionally, and look so fabulous, with a hollow door. “Oh, Huneeeeee….!”
Emily Jo, let me know if he makes you one! 😉
Also if you’re super cheap, just trace your hinge on the door using a pencil, then use your chisel and go around the line using the chisel like a punch and outline the hinge first then chisel out the recess.
Great post – be nice to have a ( bullet list ) supplies list and number of people required and time required – But great post…thank you
Nathan, thanks for the suggestions! I’ll try to add that soon. 🙂
Good info. Lucky me I found your site by chance (stumbleupon).
I’ve saved it for later!
Hello, everything is going nicely here and ofcourse every one is sharing data, that’s truly
good, keep up writing.
Love what you did!!!!!
Thanks, Sue!
This is gorgeous! And a great tutorial. I am an infant and toddler teacher, and I am doing this to my classroom door this weekend! My question is.. What did you do to the bottom of the top part of the door? Did you fill it with wood like the top of the bottom half before you added the ledge?
Ginny, I left the top open but my intention was to add a piece of wood.
Hi! I love this idea…I’m moderately handy, so I was going to attempt to do this myself – what I’m not understanding though (and maybe I missed it somewhere), but how is there room to add the shelf board in the middle and still have the door close? Do you cut the door twice so that there is an extra inch gap?
Like the way you’ve outlined things. Easy to follow. Not cluttered.
I am not understanding how the ledge is accounted for . You cut the door in half and then cut another piece off to acct for the height of the ledge ?
Also what was done to the top part of the door ? No finish ? No closing off of the hollow part of the door ?
I just left the top without anything but you could easily add a piece of wood into the hollow opening and use some wood glue to secure it. As far as the ledge is concerned, it will depend on depth of the wood you use. Once you know the depth of the ledge piece, use that measurement to cut off the TOP of the bottom portion of the door. Does that make sense? Let me know if you have any other questions! 🙂
Wow cuz this is really helpfulexcellent work! Congrats and keep it up
Hi! Great looking door! Did you have to plug the top half of the door? (The bottom of it)?
Heidi, I didn’t and you can’t tell. It wouldn’t be hard to do, so it’s really just your preference. 🙂
Nice Job. Simple and practical. I like it!
Just did one according to your page. Love it! Thank you so much!
YAY!! So glad it was helpful!
Loving this! We’re going to do this for our laundry room when we move. My only question is, the added hinge for the top portion of the bottom half of the door (wow, that was a mouthful!), did you notch our the hinge on the doorframe as well as the door, or only the door and screwed it into the doorframe. How did it close without notching, if that is what you did.
Shawna, we did notice out the hinge area. Good luck with your project!!
We just did a door this way but after adding the new hinge at the top of the bottom half I could not get it to line up correctly with the top half.
Did everything I could think of but no dice.
Still looks okay but it’s not lined up.
We are going to do a second door but this time I’m going to add the extra hinge before cutting the door in half.
Feels like this will give me a greater chance that it will line up properly after cutting and hanging the bottom.
The cut bisecting the door that is shown at first (sixth image) appears to be at odds with the location of the final cut (tenth image), the latter of which appears to be much closer to the hole bored for the door knob assembly than the former shown cut. Was a second cut required?
Otherwise, the following is not a judgment of the DIY effort, but of its aim. Yours is perhaps the best example to be found of this kind of attempt at a modification to create a Dutch door from a door otherwise designed, but with respect to finished appearance and underlying design, it is arguably not worth the effort.
This is said because this kind of of modification likely cannot be done in any way to give a proper finished look: bisecting a door not designed to be a Dutch door results in an asymmetrically bisected center rail disruptive to design (seen here), or to both that and unsightly bisected panels (seen in another example).
Given the quality for which you aim (and the beauty of the surrounding home), should one not purchase an actual, manufactured Dutch door, and reserve the DIY aspect to setting the four hinges into the frame designed for three (and latches into the frame also otherwise designed)?
While it is not as egregious of a choice as destroying a perfectly usable solid wood door (as was done in at least one other Dutch door DIY project), any usable door is a potential blessing to others as a donation. Better perhaps to allow someone else to do something suited to the six panel design of this full form door, and to simply purchase and install a Dutch door likewise designed for the role you envision.
Oh that’s cool! Haven’t seen many homeowners using this style but i think it is really cool. I would definitely consider installing this kind of door too.
I can’t ever read the article there are so many ads it just glitches the whole time….